Wife, mother of two, daughter, sister, friend. Lover of food, travel and event planning. I have a strong desire to get everyone I know to stop eating processed sugar and learn to love healthier foods!
My kids LOVE bread!! (I mean, we all do right?!) Especially my girl V, she wants it all the time. And …although I try to avoid eating/cooking with grains , one of these days I fully intend on making a loaf of sourdough. I DO believe sourdough can be healthy and beneficial and a great treat now and again. I have tried to make sourdough once and it was a terrible, awful, disaster. Very upsetting. So I’m still nursing my ego from that incident but I WILL try again!! Anyway, I’m always on the hunt for a good grain free bread. Preferably one I don’t have to make that doesn’t cost over $10, HA! BUT!!!! This bread was fun to make, DELICIOUS and EASY PEASY! Full of good fats and protein and I serve it up like french toast sticks :).
Ingredients:
1 and 1/4 cups full fat cottage cheese (I like Kalona Supernatural whole milk)
1 1/2 cups blanched almond flour
4 large eggs
1/4 cup olive oil
1 tsp baking powder
1/2 tsp salt
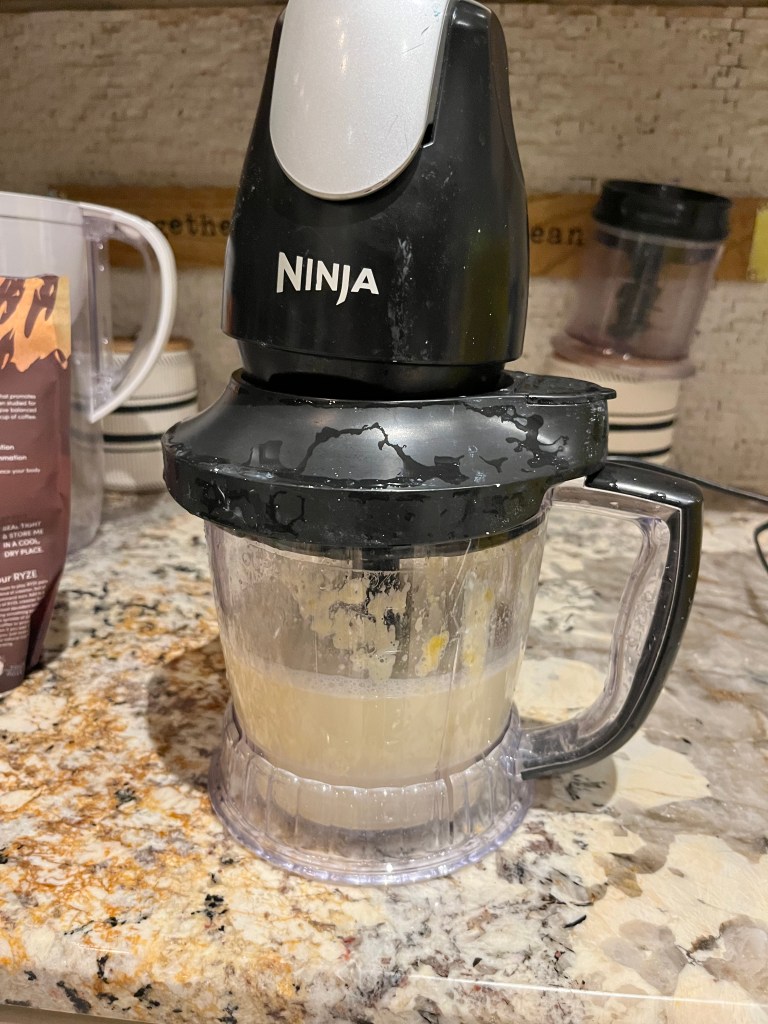
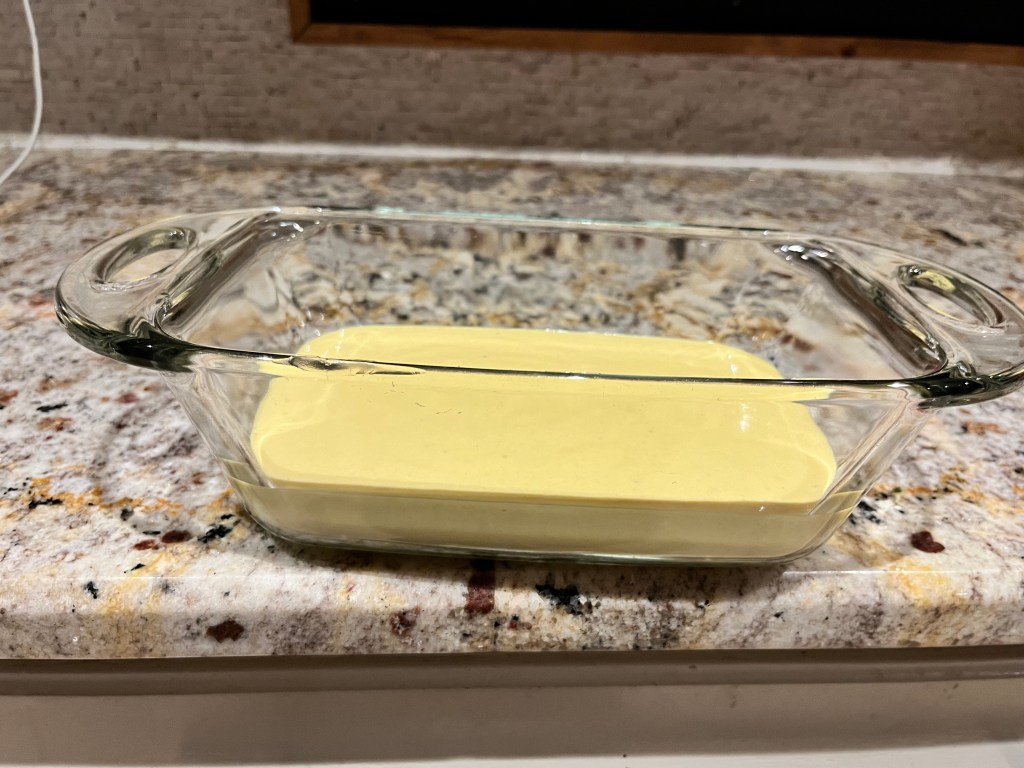
Method: Place all ingredients into a blender and mix away until smooth like pancake batter. Spread into a greased bread pan and cook at 350 for 40 minutes 🙂
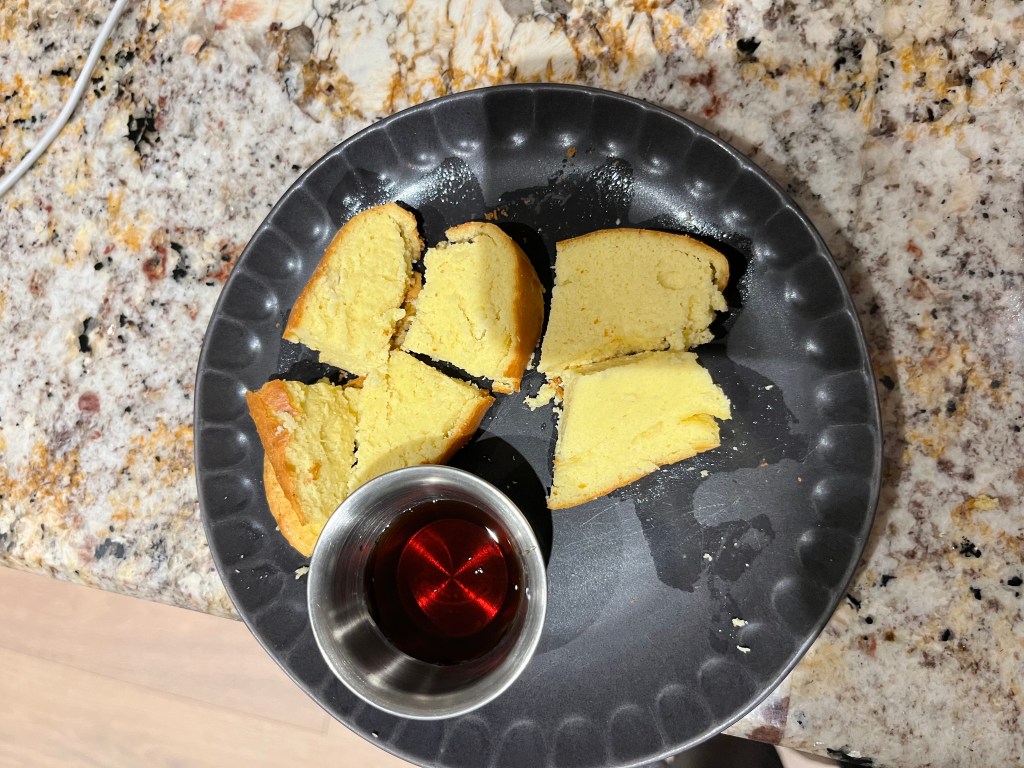
I cut into 1/4 inch strips after it cools and serve with tiny sauce cups of real maple syrup!
Who doesn’t love granola!? When I first started a grain free/low sugar life style this most def was one of the things I was really missing. I used to have my own recipe that was heavy in oats and brown rice syrup. It was over the top GOOD!!! And yes, you can buy gluten free oats but for my personal health I really “try” to eliminate all grains. I’ve gone into this before on here for sure but to recap I have dealt with stomach issues and headaches for as long as I can remember. Trying to live grain free has improved these things for sure, and while I am not perfect I try so hard to keep it up. Especially when cooking at home. Restaurants are another story… I find it really really really hard to say no to table bread, HA! Whats fun is I’ve found that almost everything I love I CAN make grain free! Throw me a recipe and I’ll throw you a grain free version 😉 I have so many recipes I plan to share here and than forget. One of my FAVES is grain free hamburger buns. I promise to share one of these days ;).
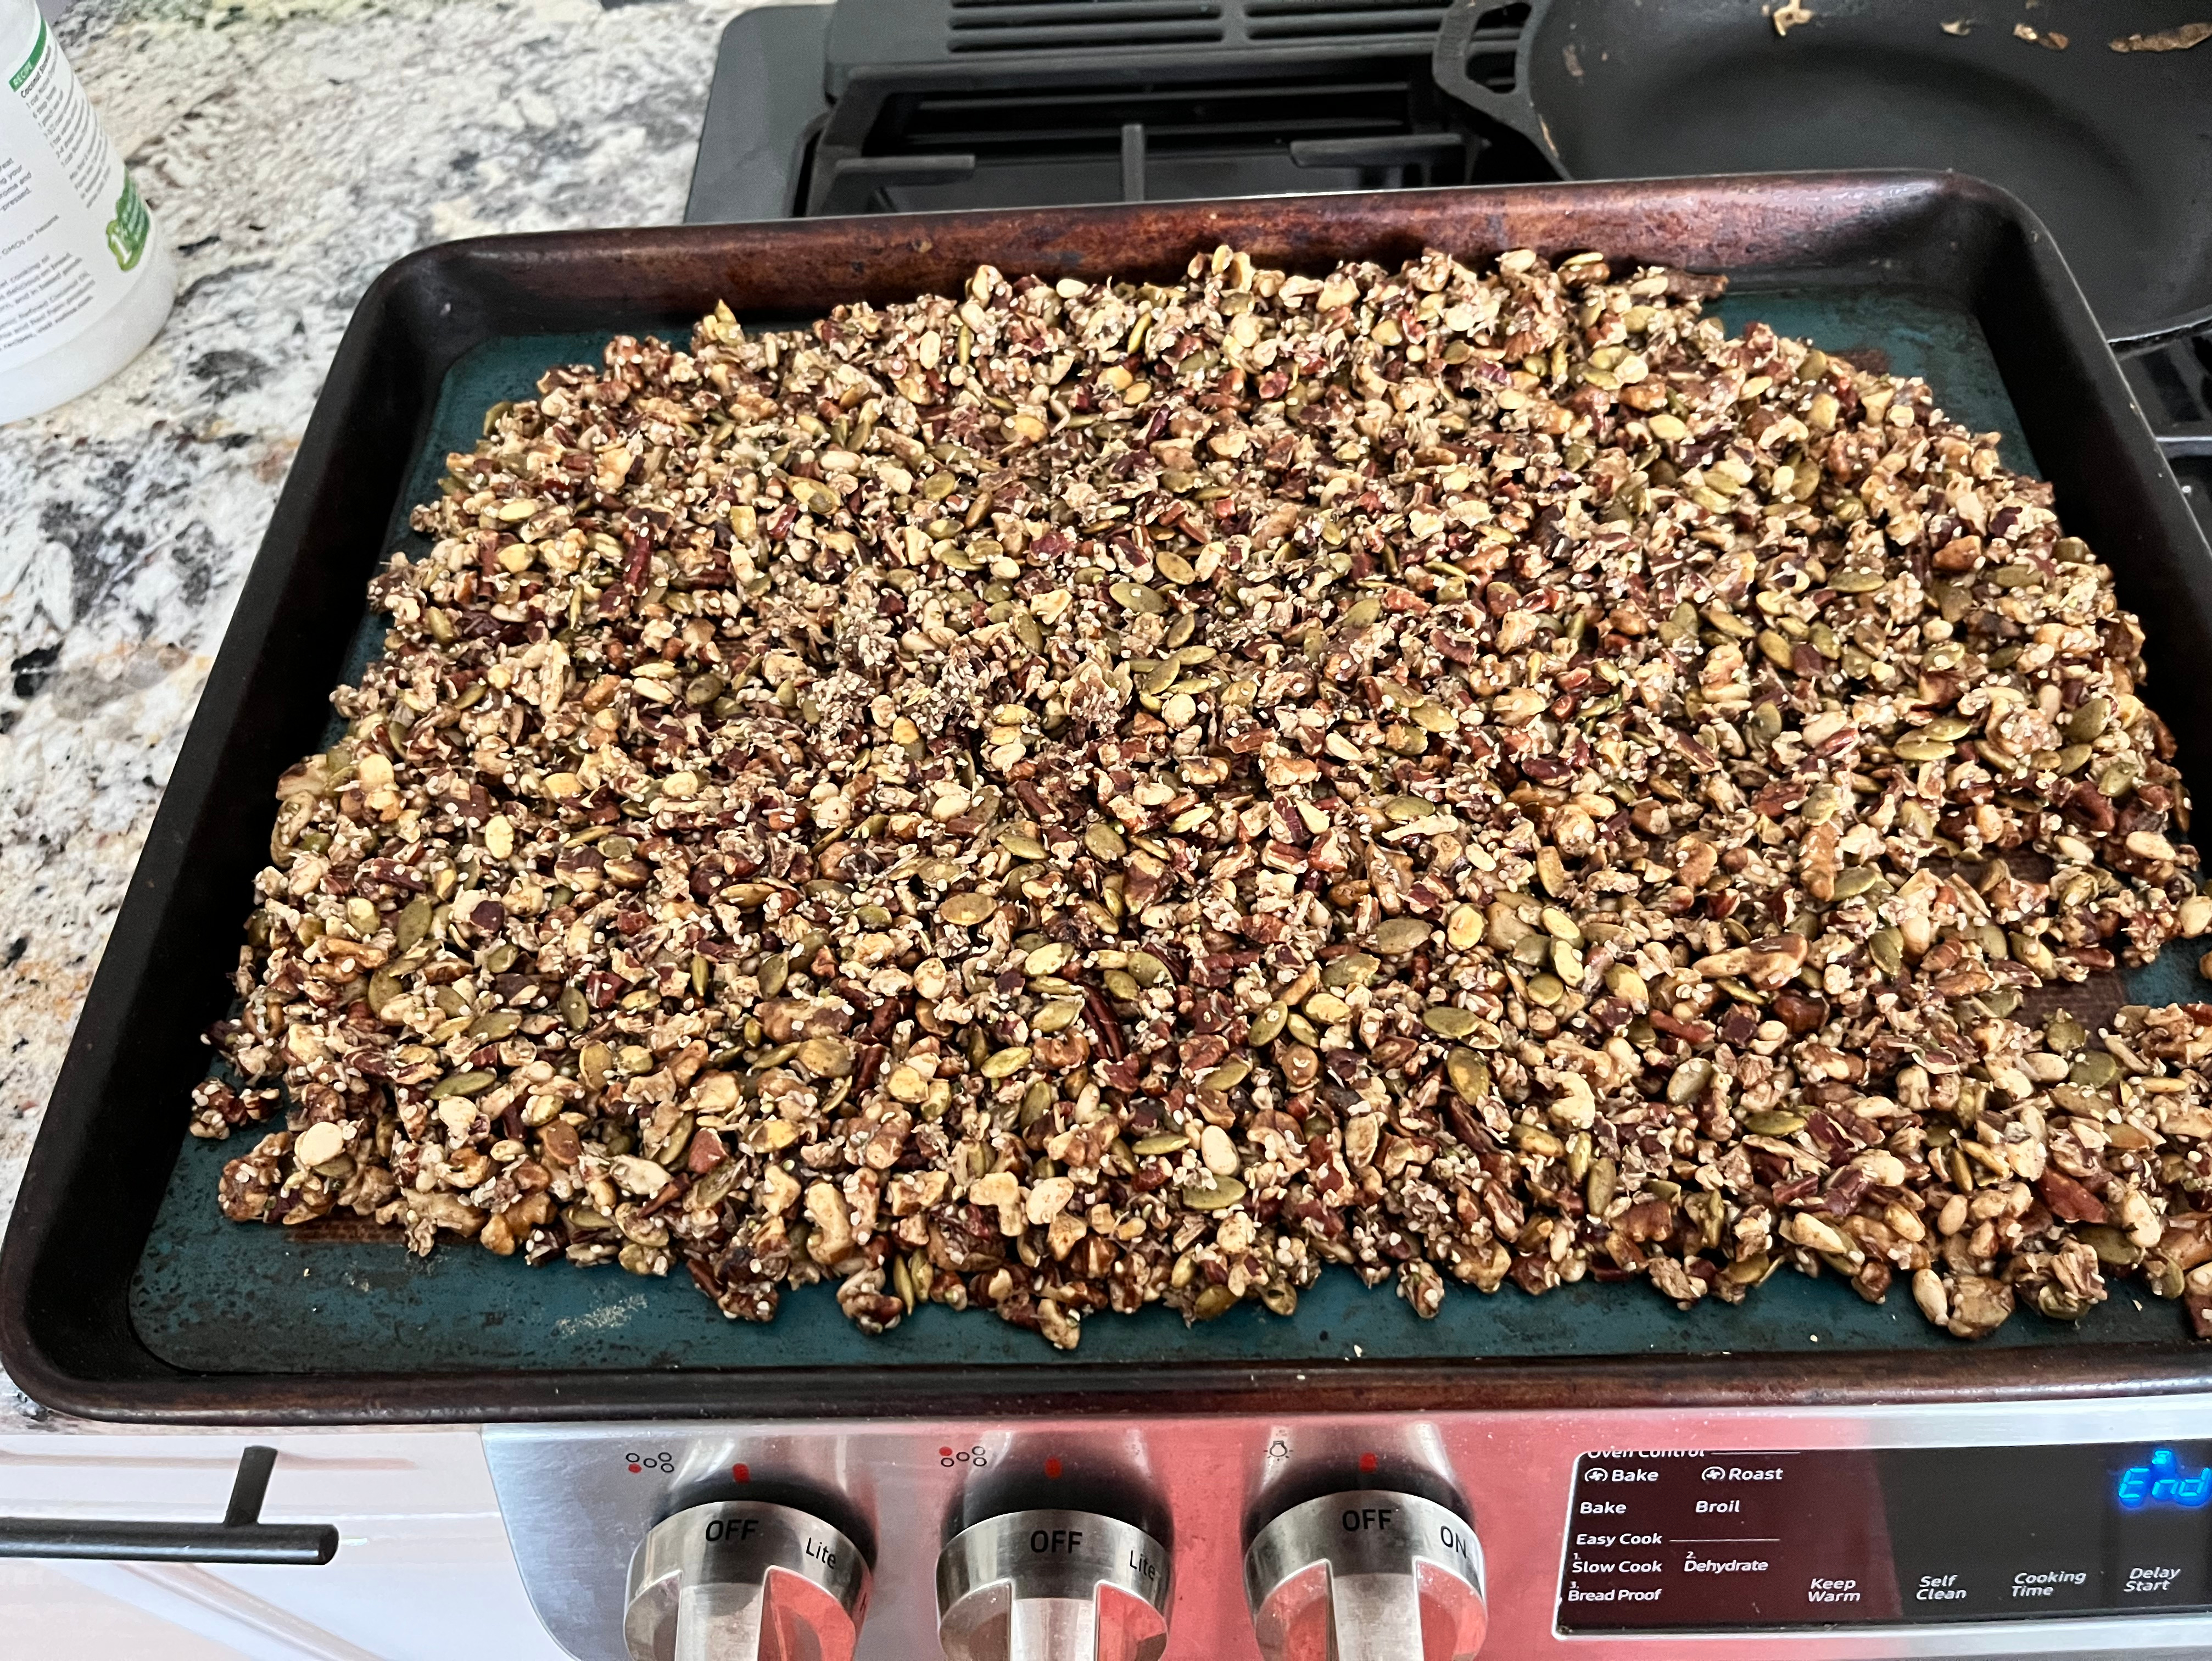
So I made this the other day as mostly an experiment and I really liked it! Also as a HUGE bonus, my house has never smelled so good while making this!!!!
Grain Free Granola:
1/4 cup coconut oil melted
2 t vanilla extract
2 cups raw sunflower seeds
2 cups raw pumpkin seeds
1 cup raw chopped pecans
1 cup raw chopped walnuts
1/2 cup pine nuts
1/2 cup hemp seeds
1 cup coconut flakes (unsweetened)
1 t ground ginger
1 t ground cinnamon
1 t ground cloves
2 T maple syrup (or keto sweetener of choice)
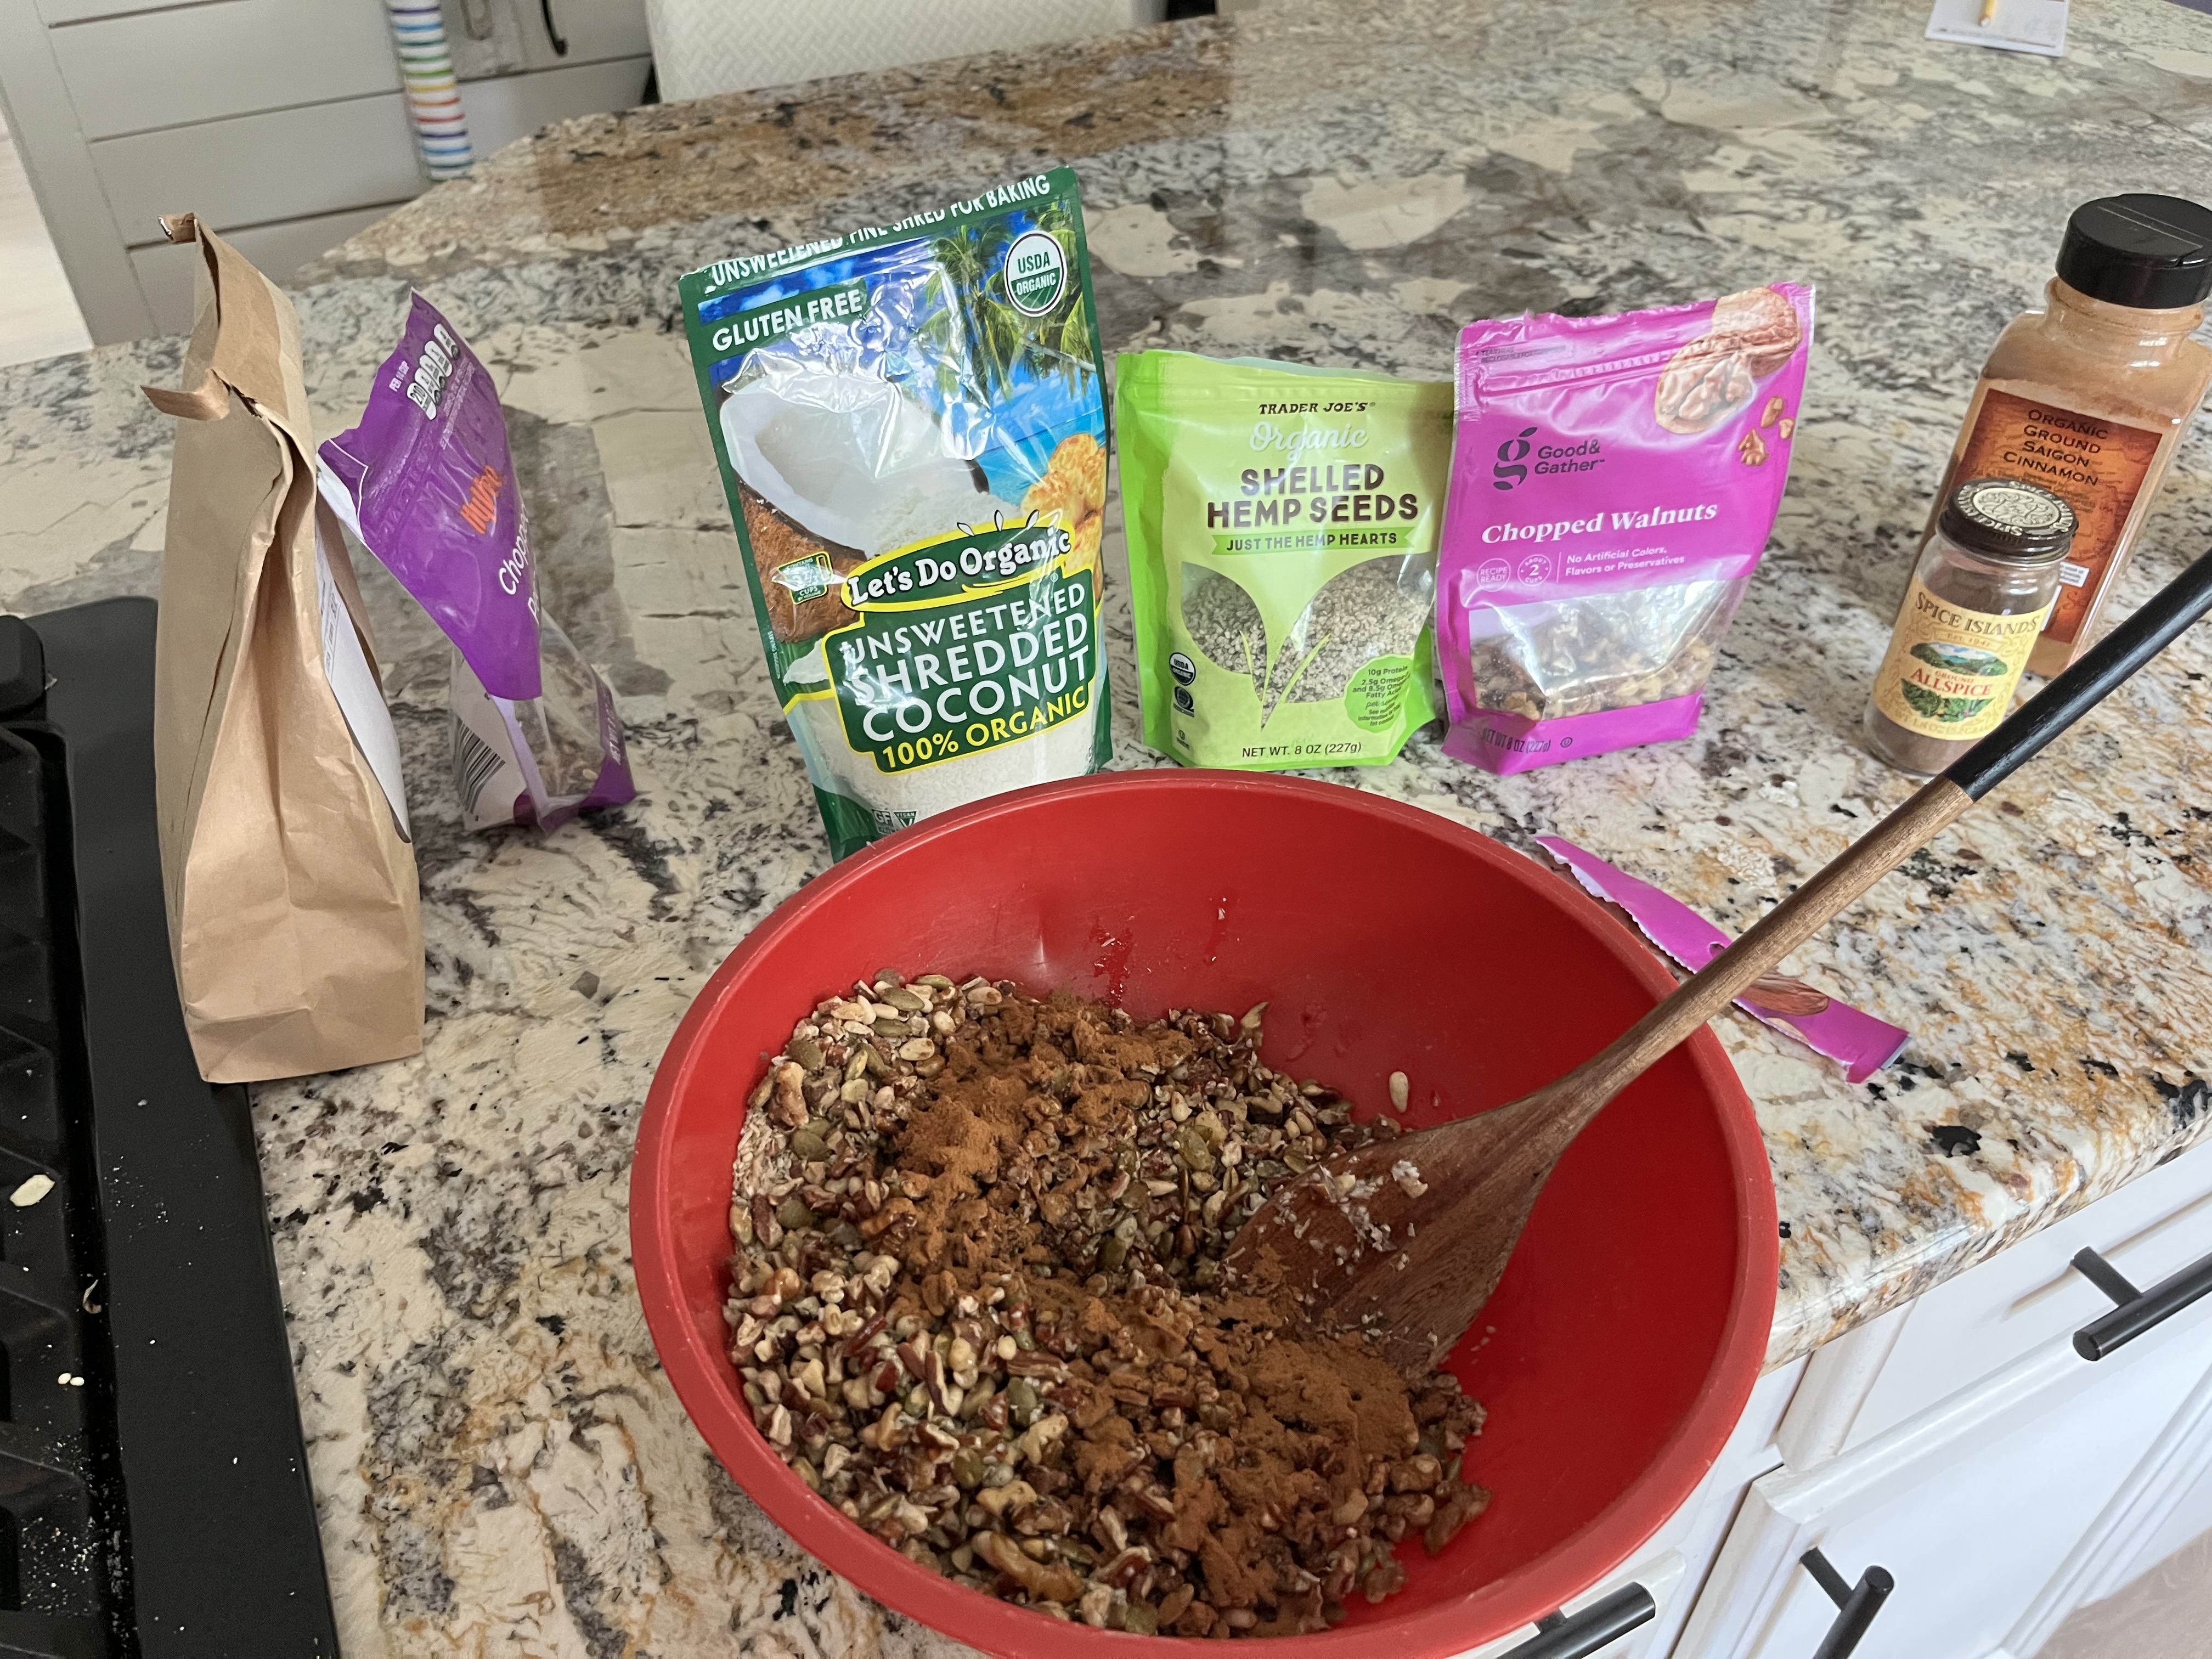
Preheat oven to 275. Than get started by melting the coconut oil in a small bowl and mix in the maple syrup (or keto sweetener) and vanilla extract. Next grab a large bowl and mix in all of your seeds, nuts and spices. Slowly mix in the coconut oil mixture into the nuts and seeds. Now spread the mix onto a large well oiled baking sheet. Bake for about 15 mintues. Allow to cool and store in fridge in an air tight container.
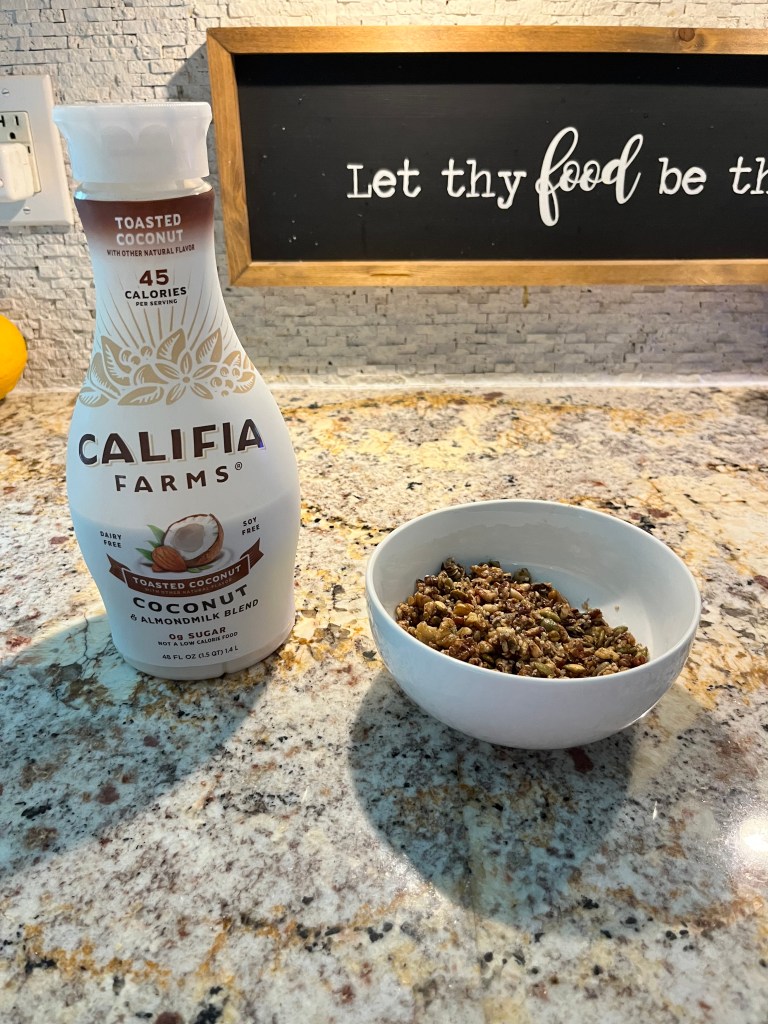
I ate mine like a cereal with Calfia Farms toasted coconut & almond milk but I think it would also be great as a trail mix 🙂
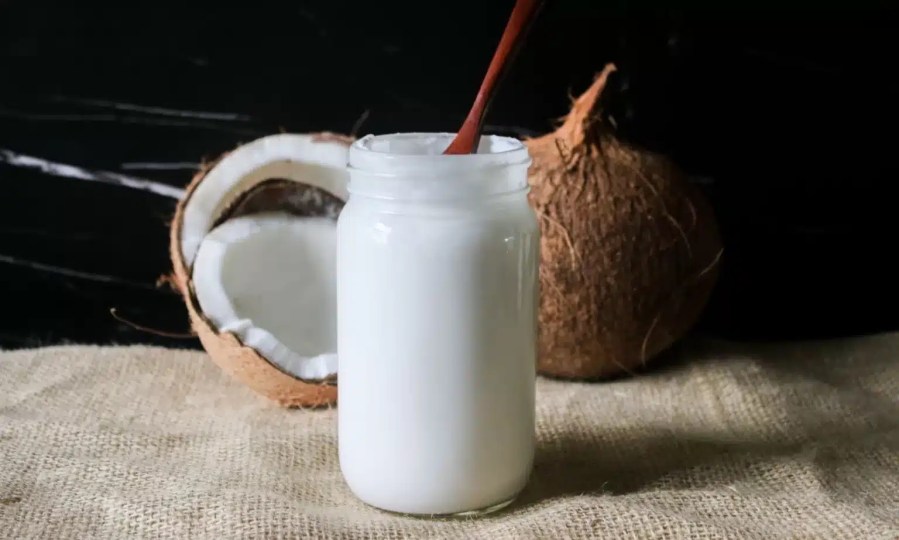
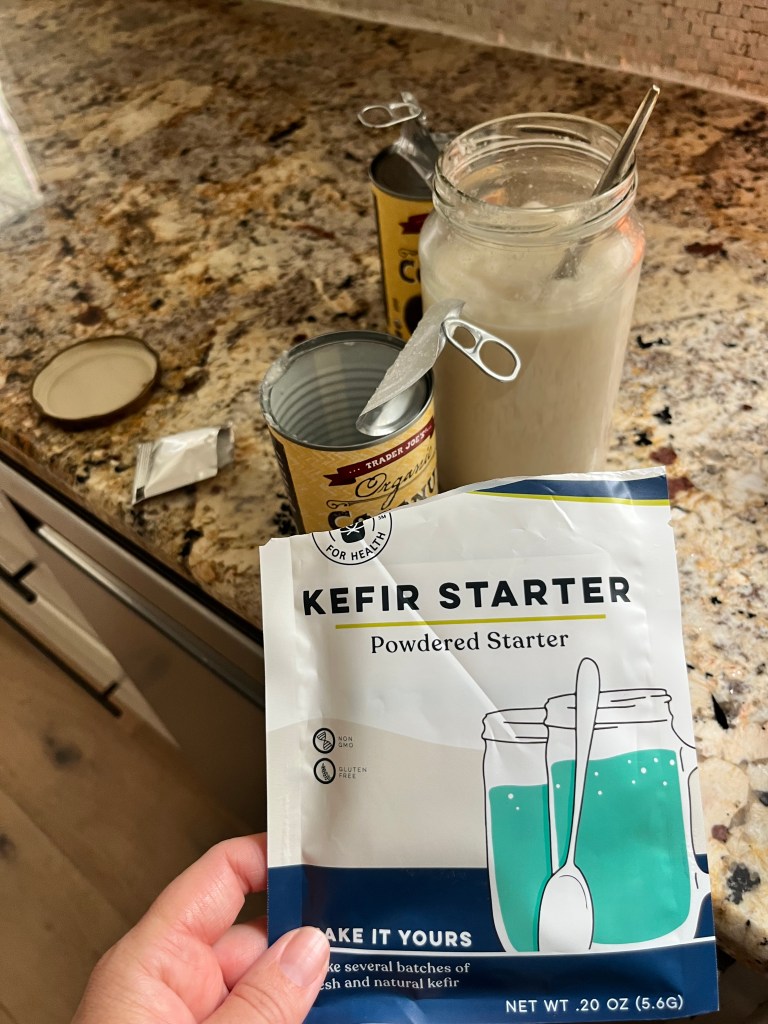
I have a TON of interest in fermented foods/drinks. They can provide great digestion support and help the immune system among many other benefits that my family NEEDS! ….BUT! They also slightly terrify me. When I make them myself that is. In the past I have made fermented lemons, kombucha, fermented garlic and honey (YUM!) and now kefir. I have been wanting to try to make homemade sauerkraut for such a long time but the fear is pretty strong that I could mess that up and potentially DIE from botulism poisoning. Which I’m fairly sure is almost 99.9 percent sure NOT to happen but that tiny chance has always held me back!!! However with the other stuff I have done, that fear is not there so much. I guess I trust myself enough to know if something were ‘off’ my nose would know it. You can tell pretty quickly by giving something a good look over and take a strong smell of it to know if it is ‘off’ or ‘safe’. For instance, I’ve been doing kombucha now for over 4 years and I’ve never even washed the vessel! I always give it a good look over for every new batch and it always looks the same and has the same vinegary smell that tells me all is good. IF it were to develop mold that CAN be dangerous but I would know right away that it would look off and it would smell off and the taste would be off…my instincts would reject it you know? So anyway… on to my topic for today! Homemade Kefir! Kefir is fermented milk, or in my case coconut milk. I was a little nervous on my first batch of this that maybe I would do it wrong and make myself sick but it was a HUGE success!! I’m not a fan of cow milk on any level so I used canned coconut milk and it is SO GOOD. Kefir benefits include: promoting gut health/bone health/stress relieving/muscle health/immune boosting, and FULL of vitamins and minerals. I was on a discussion board about my poor digestive health and bloating and there were SO many comments about how great kefir is so I knew I had to give it a try. The results were almost immediate AND it tastes so awesome. My recipe is super easy. Try it and give me some feedback!!!
Coconut milk kefir:
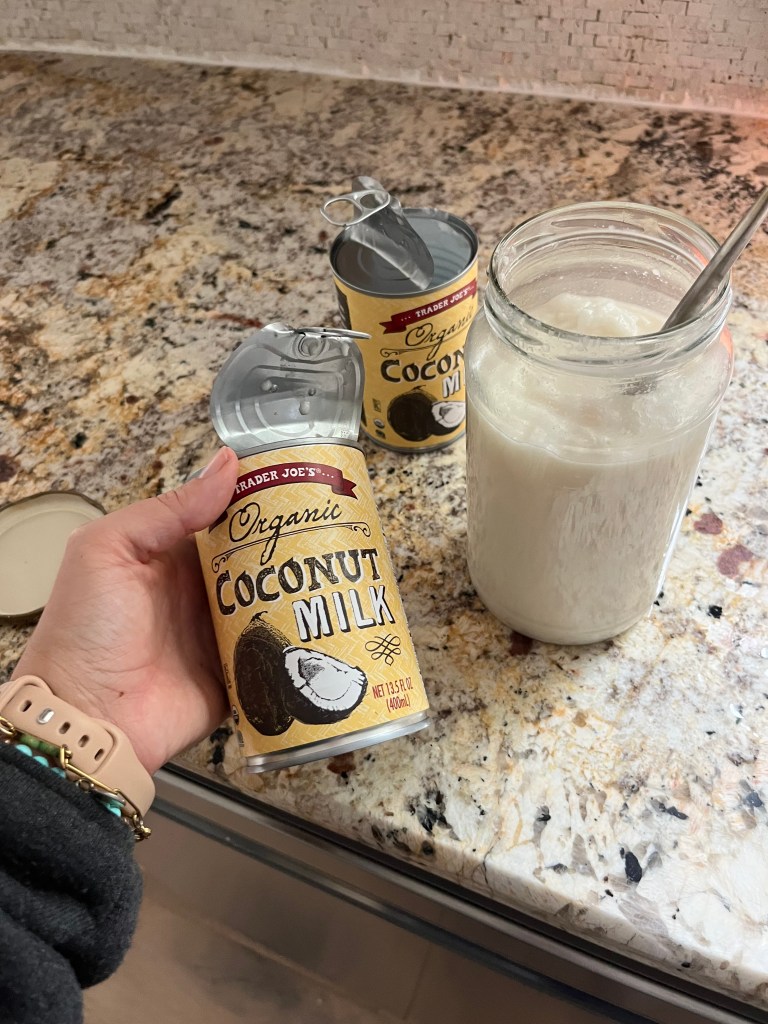
two cans full fat coconut milk well shaken to mix the liquid and the cream
Make sure the full fat coconut milk is fully mixed. Pour both cans into a large mason jar. Mix in one packet of kefir starter and mix well. Cover jar with a coffee filter or something similar that will allow it to breathe and secure with a rubber band. Let sit in a dark spot on counter or in cabinet for 18-24 hours. It should have a slightly sour but still pleasant coconut smell. There should of course be NO mold or any type of smell that smells ‘off’. Mix well again and put into fridge. Start off only drinking 1/4 a cup or less a day and working up from there. ENJOY!!
WOW. It has been almost two years since my last post! To be honest 2021 brought some hard hits that it took a little while to find my balance from. My son Bronson was diagnosed with Chrons disease in May 2021 and it was like everything I knew about food and healthy eating went out the window. I spiraled a bit and I lost all joy in cooking and discovering and sharing new recipes. I DID find my footing again and he is doing MUCH BETTER but life has been a little nuts and any spare time I seem to have seems to go to cleaning my house and allllll the dreaded laundry. But… every time I try out a new recipe I think to myself, ok, I will blog about THIS! and than I don’t and than I forget the dang recipe and never make it again :-/. One thing I’ve learned since starting this blog is that one of the major benefits is that it has become almost like an online recipe book for my favorite recipes :). I refer back to it almost weekly to remind myself of steps or ingredients to something I make all the time. I’m going to post a weekly reminder to myself to post more…. wish me luck 😉
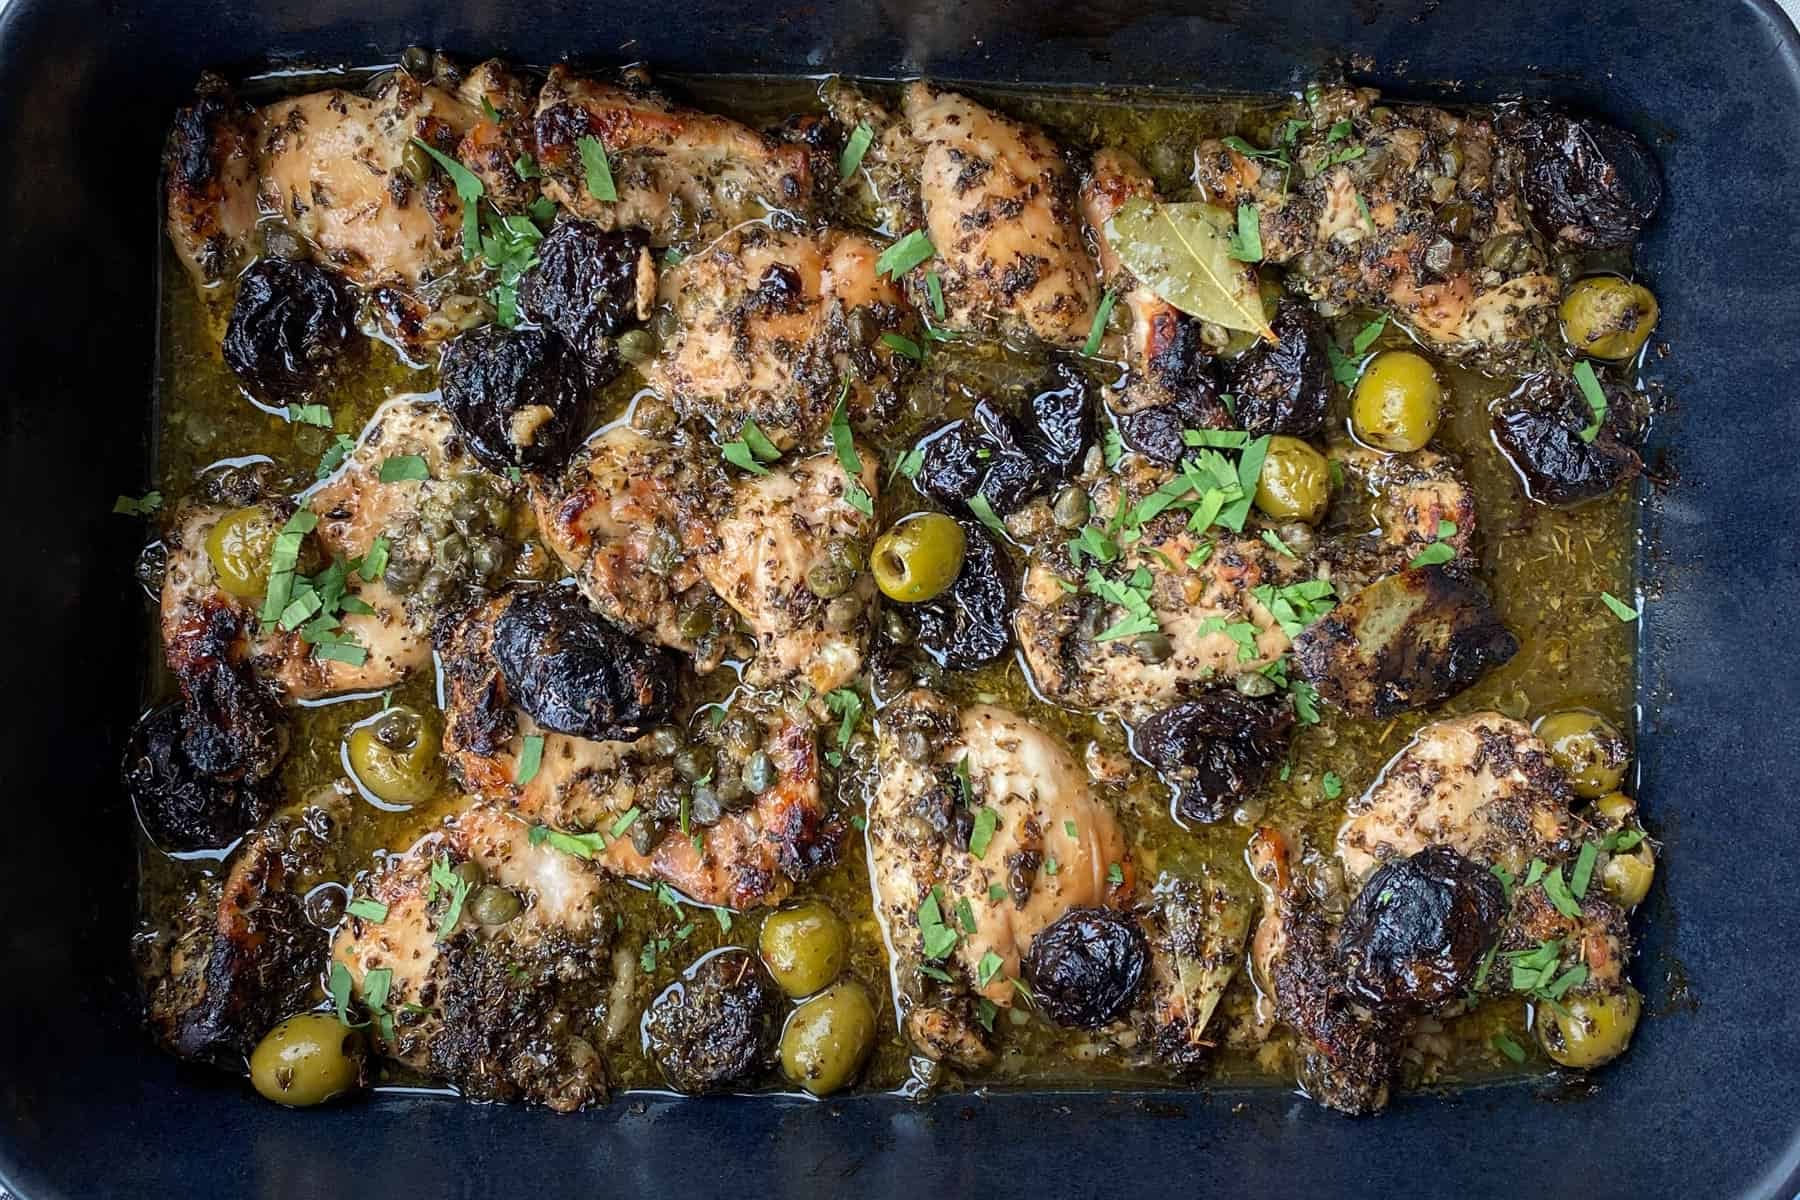
Chicken Marbella is my focus for today and it is a Mediterranean dish loaded with good, healthy fats and SO much flavor. Its a little bit salty, sweet and EASY to make. It also seems really impressive so would be fun to make for a dinner party ;). I make this with Greek potatoes which I’ll also share the recipe for but its probably also good with mashed potatoes or cauliflower.
What you will need:
1/4 cup olive oil
1/4 cup red wine vinegar
1/2 cup pitted prunes
1/4 cup pitted green olives
1/4 cup capers with brine
1/2 cup walnuts
zest from one lemon
3 bay leaves
5 cloves chopped garlic
1 T dried oregano
1 T dried rosemary
1/4 t course sea salt
1/4 t black pepper
4 chicken breasts
1 cup dry white wine
In a large bowl mix together all ingredients except chicken and wine. Mix well and add chicken. Cover the bowl in fridge and let sit for 6 hours.
Preheat oven to 350. Put all ingredients into a large casserole dish making sure chicken is in a single layer. Add wine. Make uncovered 45 minutes.
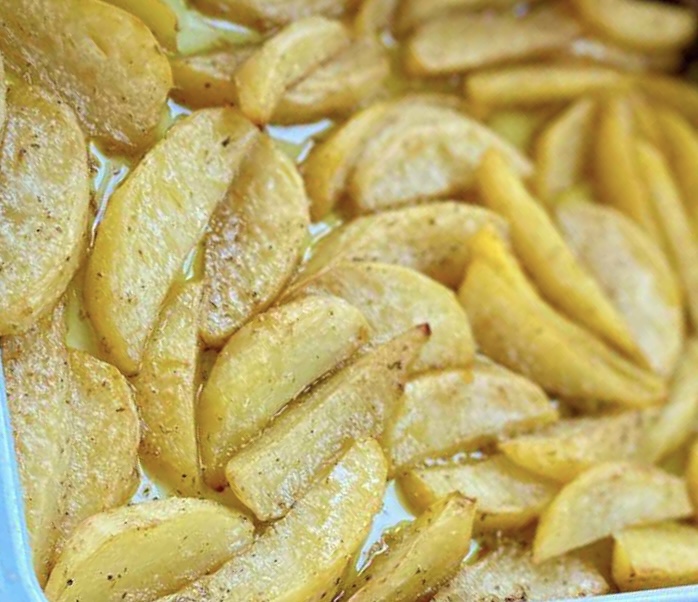
Greek potatoes:
peeled golden potatoes – 10 to 15 sliced in wedges or medallions
1/2 cup olive oil
1/2 cup broth
juice from one lemon
1 T sea salt
2 T dried oregano
Place all ingredients in casserole dish and bake at 350 for one hour.
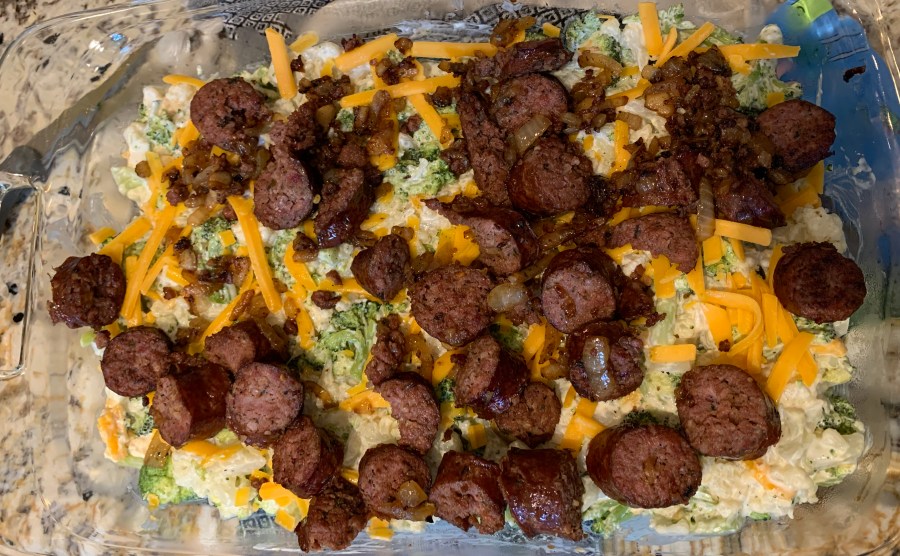
Lately, everything I make for dinner my husband is so unexcited about :-/. I hate hearing ‘oh that again?!’ but …In truth, I have been recycling the same 5 or 6 recipes that are easiest each week, so I can understand the boredom. Also, I hate admitting to this, but my kids rarely eat what he and I have for dinner. This has been something I have wanted to address for a long time now but continue to put off. So I’ve been feeling like a short order chef, making a separate lunch and dinner for my kids and than something different for the adults. How fabulous would it be if we all ate the same thing and everyone actually liked it?! I think this is why I have been rotating the same easy things, since I’m making several dinners at once and it makes sense to make the easiest recipes that I know by heart. Unfortunately, this is not a post about how my dream came true and we all ate and loved the same thing, ha! More about how I tried something new and we both loved it! My husband REALLY super loved it and I will definitely be adding it to my ‘easy’ to make list. I think it would be really good for a pot luck too. It made a pretty big batch so… yay for leftovers! I used frozen cauliflower and broccoli for this because I personally hate chopping those two things up. Also…I read once that frozen vegetables actually have more nutrients. I have no idea how true that is but I choose to believe its true so I can feel better about using them ;). Also, I know not everyone is a mayonnaise fan so feel free to double up the cream cheese instead or maybe sub the mayo for sour cream or plain greek yogurt. If you need it to be dairy free I think canned coconut milk would work nicely and either skip the cheese or use a vegan one. Try it and love it!!
Ingredients:
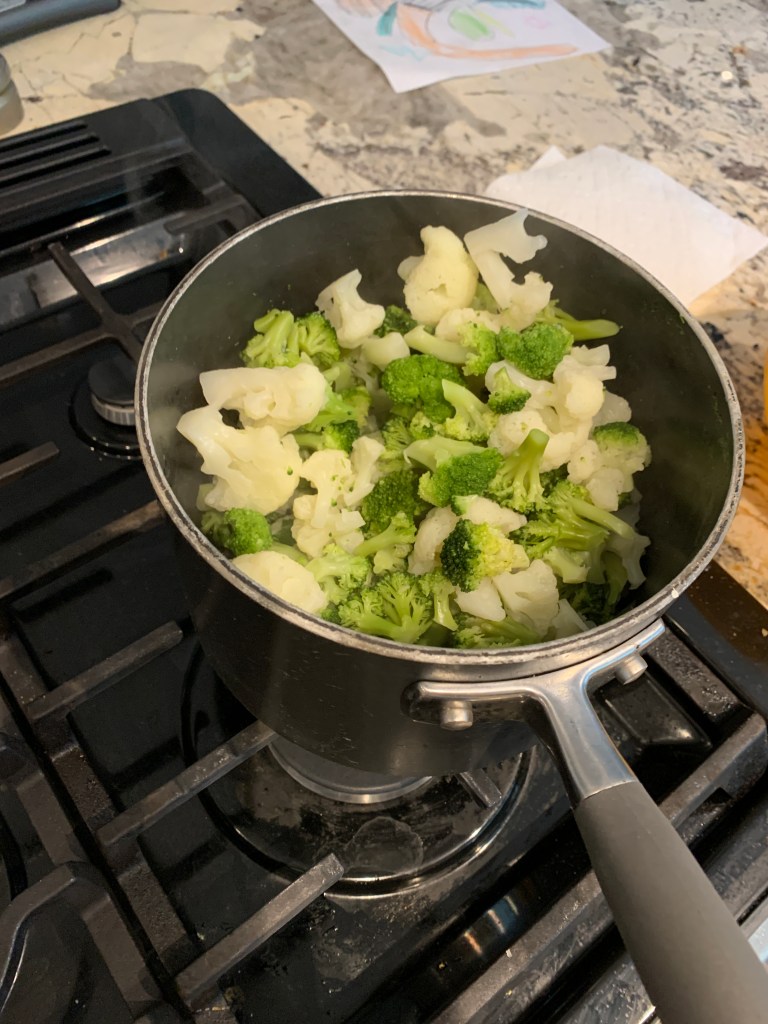
1 bag frozen broccoli florets – thawed
1 bag frozen cauliflower – thawed
1 T olive oil
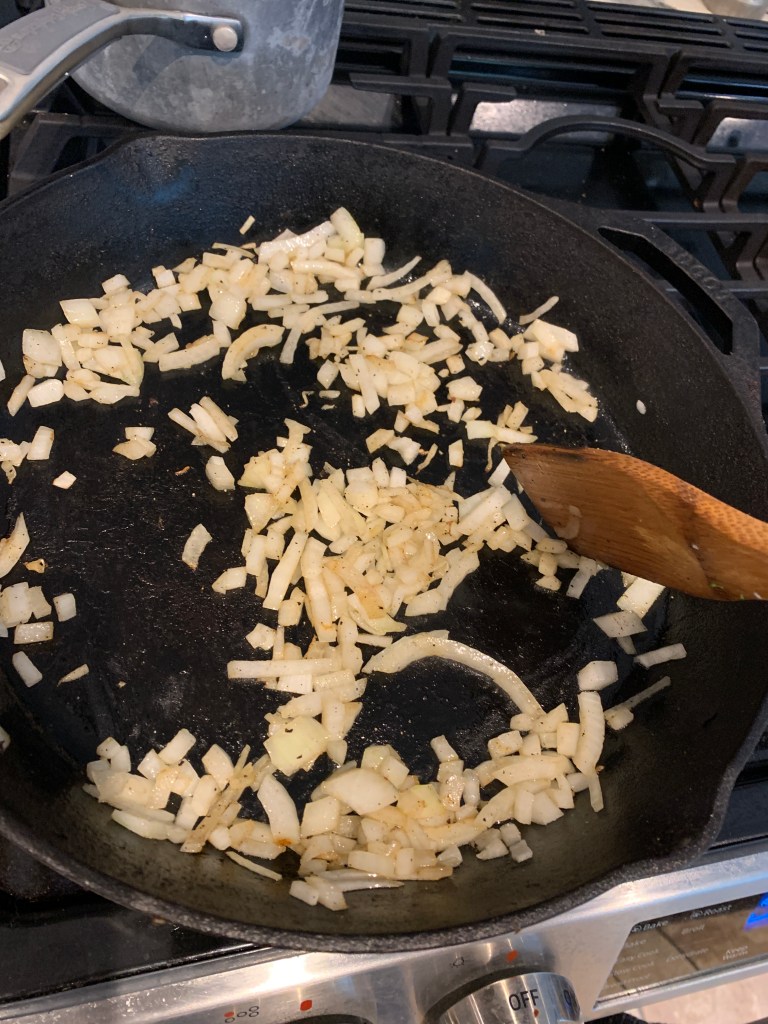
1 small shallot, diced
3 garlic cloves diced
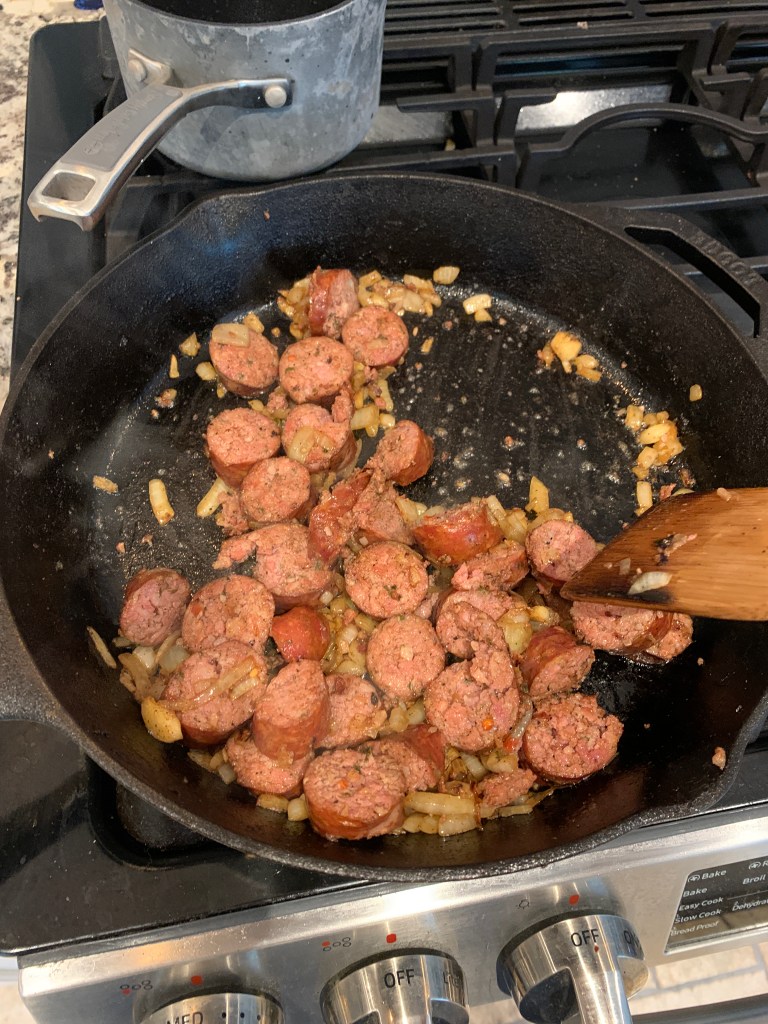
12 ounces andouille, smoked or polish sausage cut into 1 inch rounds
4 oz cream cheese at room temp
1/2 cup mayonnaise (can sub for more cream cheese, sour cream or full fat plain yogurt)
2 cups shredded cheddar cheese
1 T horseradish
2 T dijon mustard
salt and pepper
Preheat oven to 400. Boil about 4-6 cups of water in a large pot. Once rapidly boiling add in broccoli and cauliflower and boil for 3 minutes. Next heat up oil in skillet and brown shallot and garlic. Stir in sausage and brown all over until cooked all the way through, stirring frequently on medium/high heat. In a mixing bowl combine mayo, cream cheese, 1 cup cheddar, dijon, horseradish, salt and pepper. Stir this mixture into the broccoli and cauliflower. Than spread evenly into casserole dish. Top with cooked sausage and remaining cheese. Bake 12-15 minutes and enjoy!
WOW! It has been almost three months since my last post!!!!!! How did I let so much time go by?! It’s wild how the things I enjoy so much in life can become so low on my list of priorities. Specifically reading, working out…two of my favorite things has gone so far down the list of daily must-do’s it is pathetic. I am a firm believer that taking care of yourself first is important not just for your own well being but for everyone around you, so why am I letting these important things go? Not only that but I had had very clear goals to add other must-do things to that daily list… daily meditation, keeping a journal, yoga, nightly board games with my kids. Failing at all of it. I truly enjoy this blog and sharing things about my family so why don’t I share more often? Honestly, we have had some health issues come up for my son around the time of my last post which is a very clear reason why I have let so much go, but speaking even more truth than that I am very poor at managing stress. Its absolutely been a life long issue but when additional stresses are thrown in that involve my children, oh my. Well onward and upward right?!!! Maybe keeping up with this blog more often will help me stay accountable with the rest of the things I need to prioritize. Send good vibes please ;).
I have played with this recipe a lot and it has changed so much since I first started making it several years ago. Namely, I QUIT using tilapia! Because… holy hell that fish is basically trash. If you know much about fish farming you know what I mean. Tilapia is one of the most widely farm-raised fish (picture fish feeding on chicken feces). It is cheap and light and tastes good but its crap and you should avoid it. Honestly I can’t in good faith fully recommend any fish unless you caught it yourself in the deep blue ocean LOL but….I personally will only buy wild caught. Flounder, or mahi mahi is good with this recipe or any white fish will do…WILD CAUGHT!! You could also use chicken instead for sure. Ok, on to the recipe!
White Fish with Dark Cherry Salsa
Two large fillets of white fish – flounder, mahi mahi etc
dijon mustard
liquid aminos, coconut aminos or soy sauce (I typically use coconut aminos)
Worcestershire sauce
sea salt
lemon juice
frozen dark cherries (or fresh if you can find)
cilantro
shallot
feta
capers
Put your fish in a baking dish and season well with sea salt. Give a few generous dashes of the soy sauce (or aminos), and worcestershire. Squeeze the juice of half a lemon all over and about a tablespoon of dijon on both fillets. Flip the fish over and make sure both sides are well coated in the seasonings. Bake for 25-20 minutes at 375.
For the salsa I usually only use frozen cherries. Slice about 15 in half and make sure there are no pits of course! Place in small mixing bowl. Grab a handful of cilantro and remove the stems. Chop up the leaves from the cilantro and add to the cherries. I usually only use about 1/2 of a small shallot, chopping into small pieces. Add to the cherries and cilantro and mix well. Squeeze other half of lemon all over and sprinkle in a little sea salt. Spoon over the cooked fish and add some feta and capers to the top to complete. SO GOOD!!! I usually serve this with sauteed mushrooms. I can share that recipe another day ;).
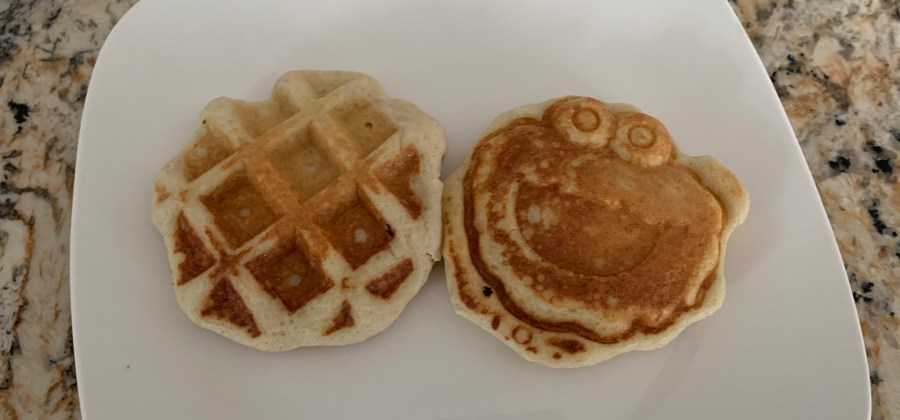
My kids loooooove waffles! When my son was really little I bought an elmo/cookie monster waffle maker from Target so they both ask for ‘elmo waffles’ all the time. Most pancake/waffle mixes at the store are filled with junk and the recipes I used when they were younger used a lot of sugar and white flour. So I set out to create a recipe that was both filling and nutritious AND that they both liked. I always use pure maple syrup to top them so its actually pretty much guaranteed they will like whatever is underneath, ha! As long as the texture is good that is. Sometimes I let my girl add some sprinkles and fresh whipped cream to the top and it just makes. her. day. Some other toppings we love … fresh strawberries or blueberries, sliced bananas, walnuts, ice cream or yogurt, butter (of course!), hemp seeds. You definitely need a reliable waffle iron for these or if you are making as pancakes you will need a good, well greased skillet. I always make sure my waffle iron is fully heated up with a thin layer of oil or butter to avoid sticking. These waffle irons from target actually work really great and what a great price. I still prefer the tried and true elmo waffle maker to this one but it is absolutely a great second best. I actually happened upon it once when I started reading about chaffles. ( A savory low carb waffle made from one egg and 1/2 cup of mozzarella cheese. TRY IT!!) Ok onto my recipe!!
Ingredients:
1 cup blanched almond flour
1/4 teaspoon salt
1/4 teaspoon baking soda
4 large eggs
1 teaspoon vanilla
1 cup full fat plain greek yogurt
few dashes of cinnamon
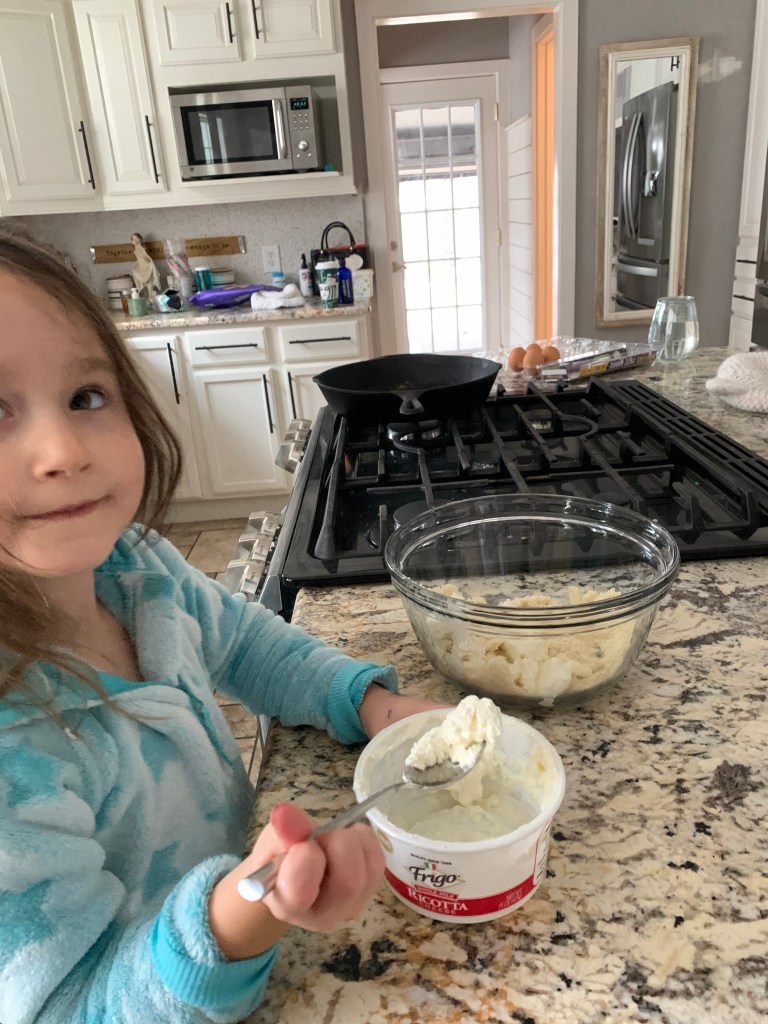
Warm up your waffle iron. Place the dry ingredients in a mixing bowl and mix in eggs, vanilla and yogurt and mix well. Add about 1/4 cup mix to your iron (or more or less depending on size). Top with your favorites and enjoy! Full of protein, fiber and vitamins and minerals :)! Store left overs in air tight container…they heat up well in the microwave. PS – I was out of yogurt when we took these pics so I used ricotta cheese and they were just as good :)! Def recommend the yogurt over anything else but you could use cream cheese, ricotta, sour cream, or creme fraiche instead if you are in a pinch
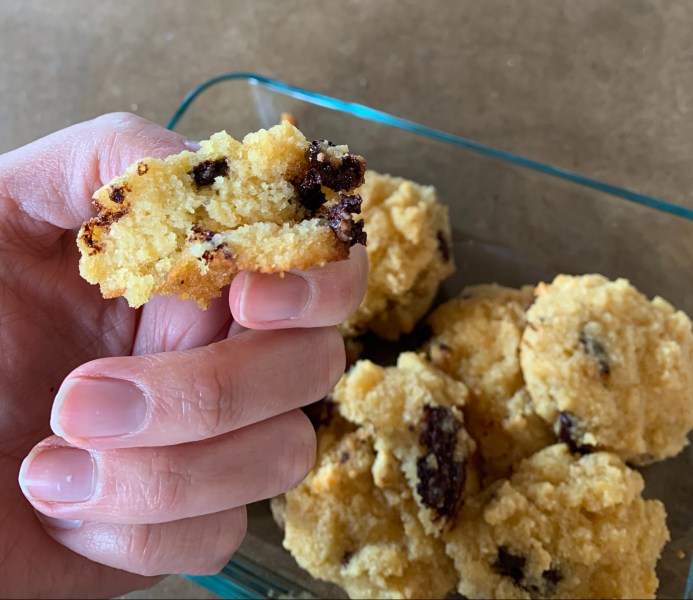
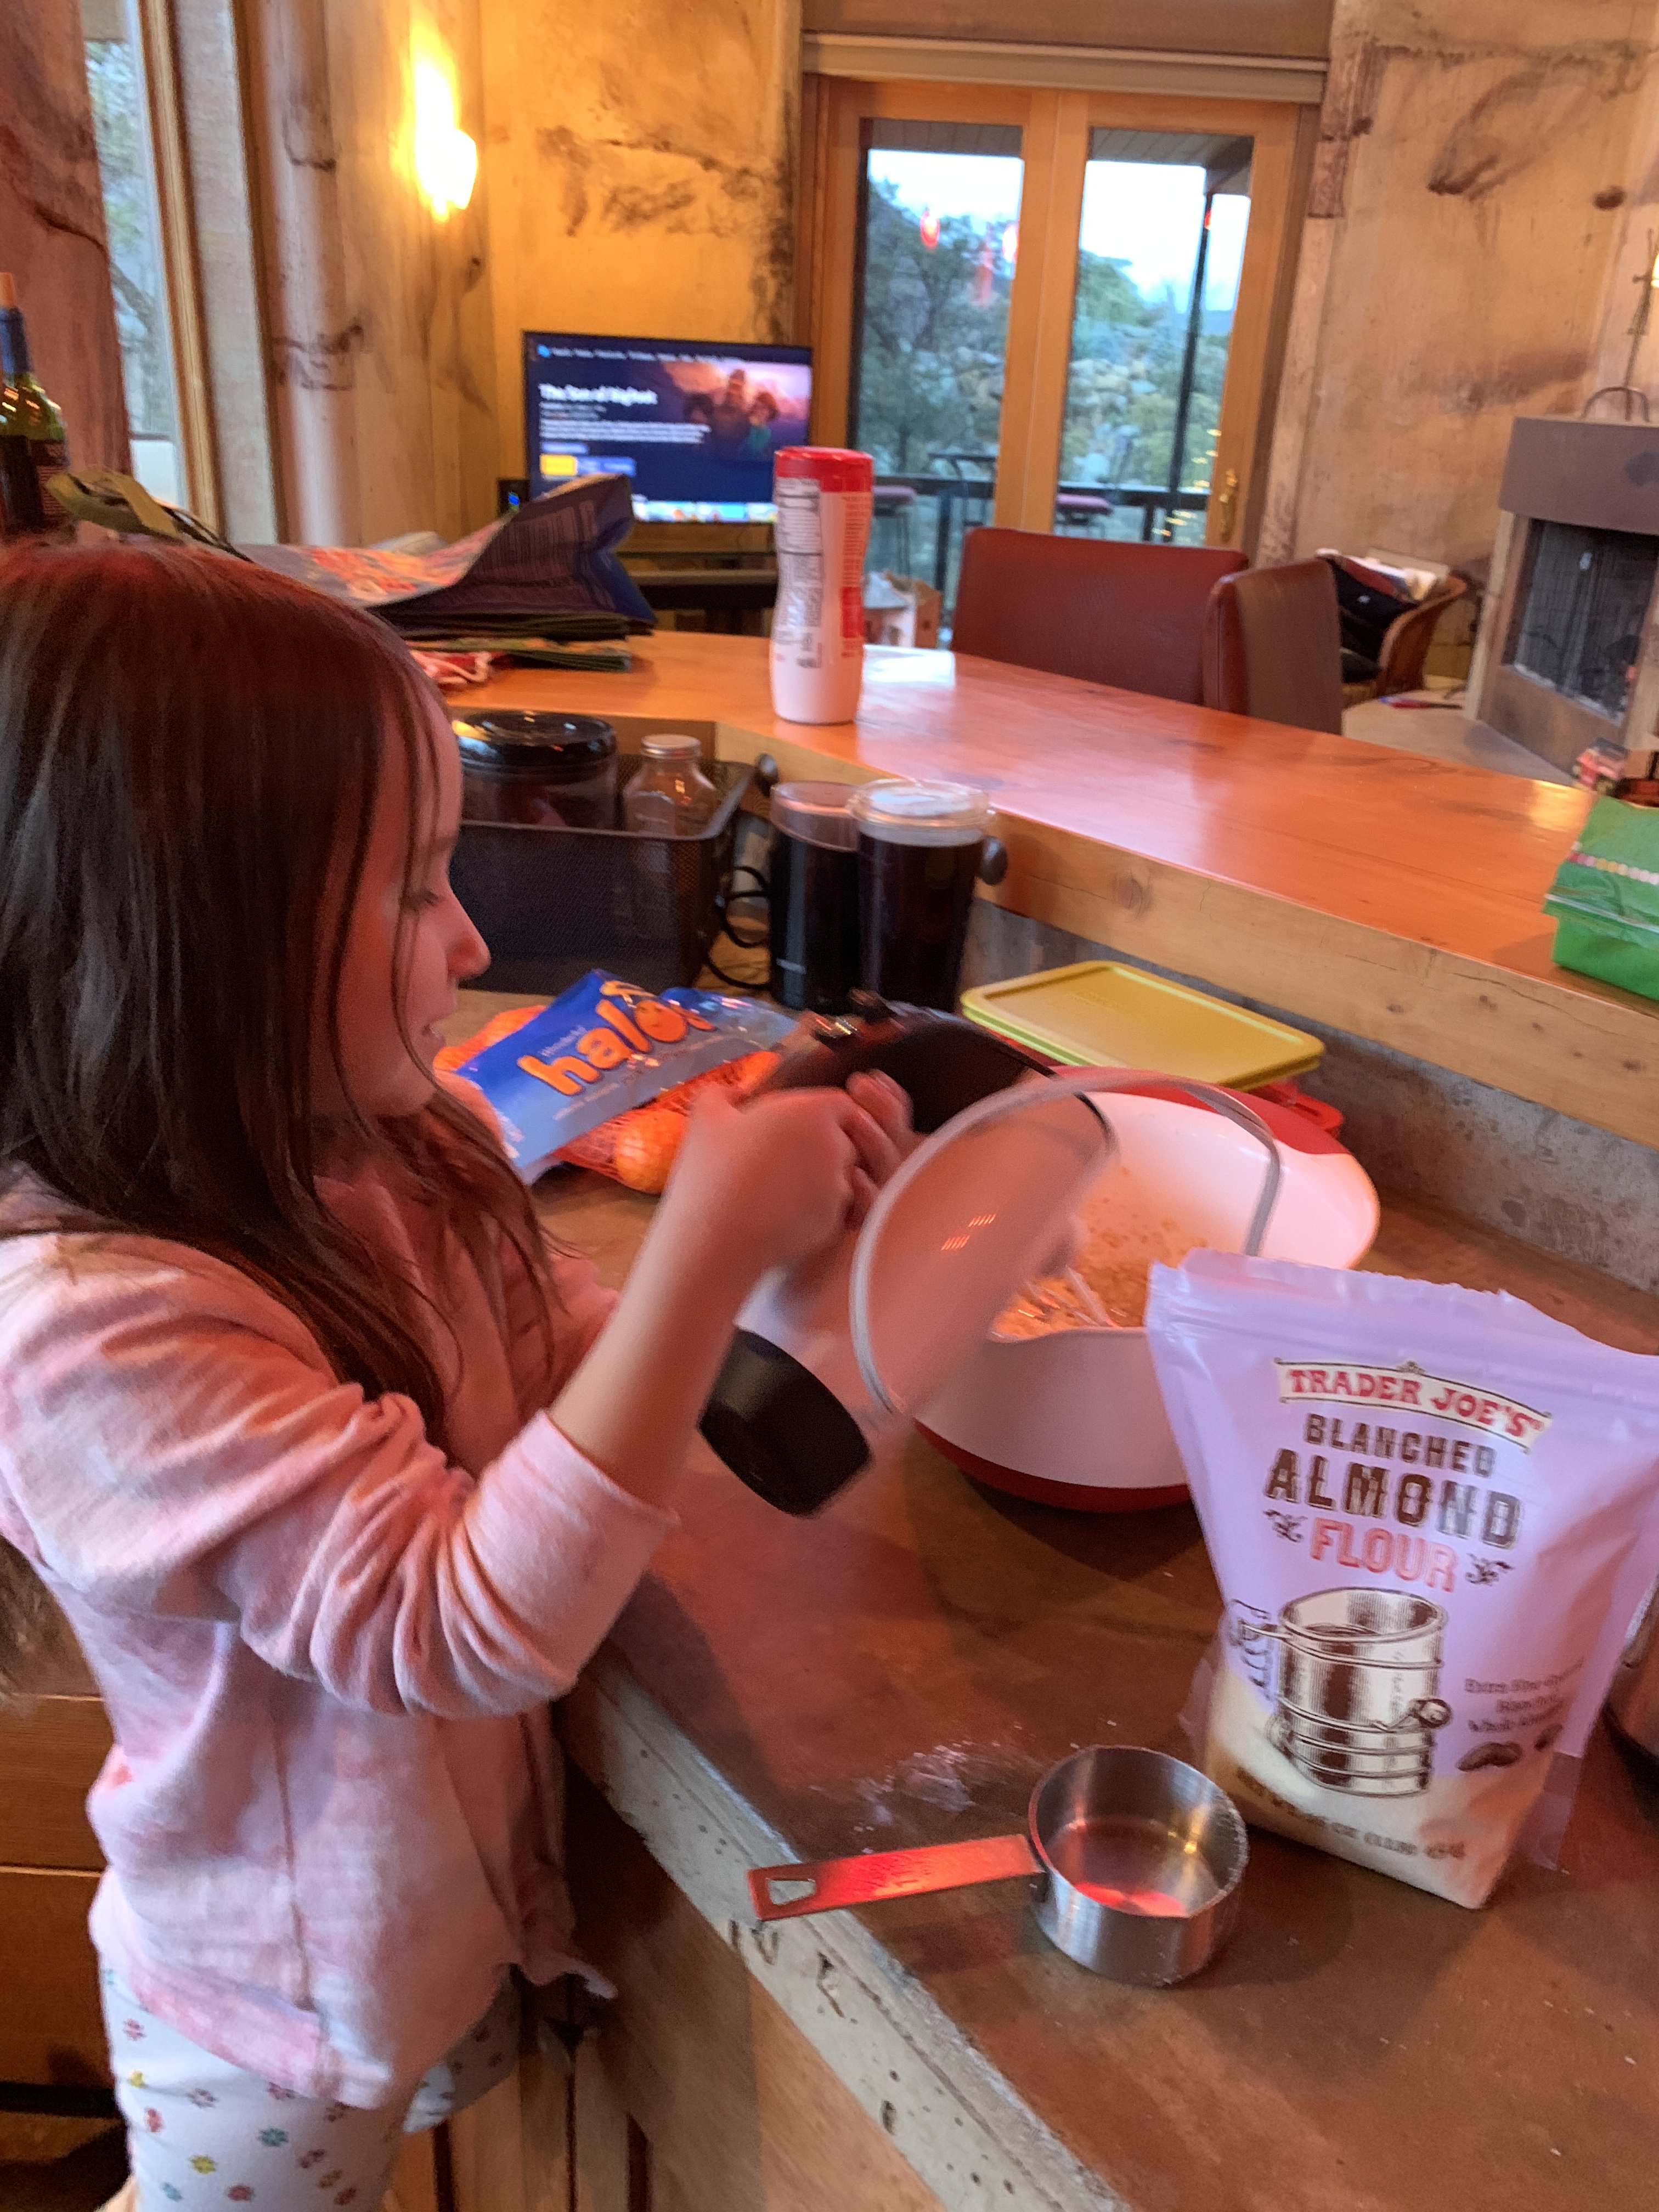
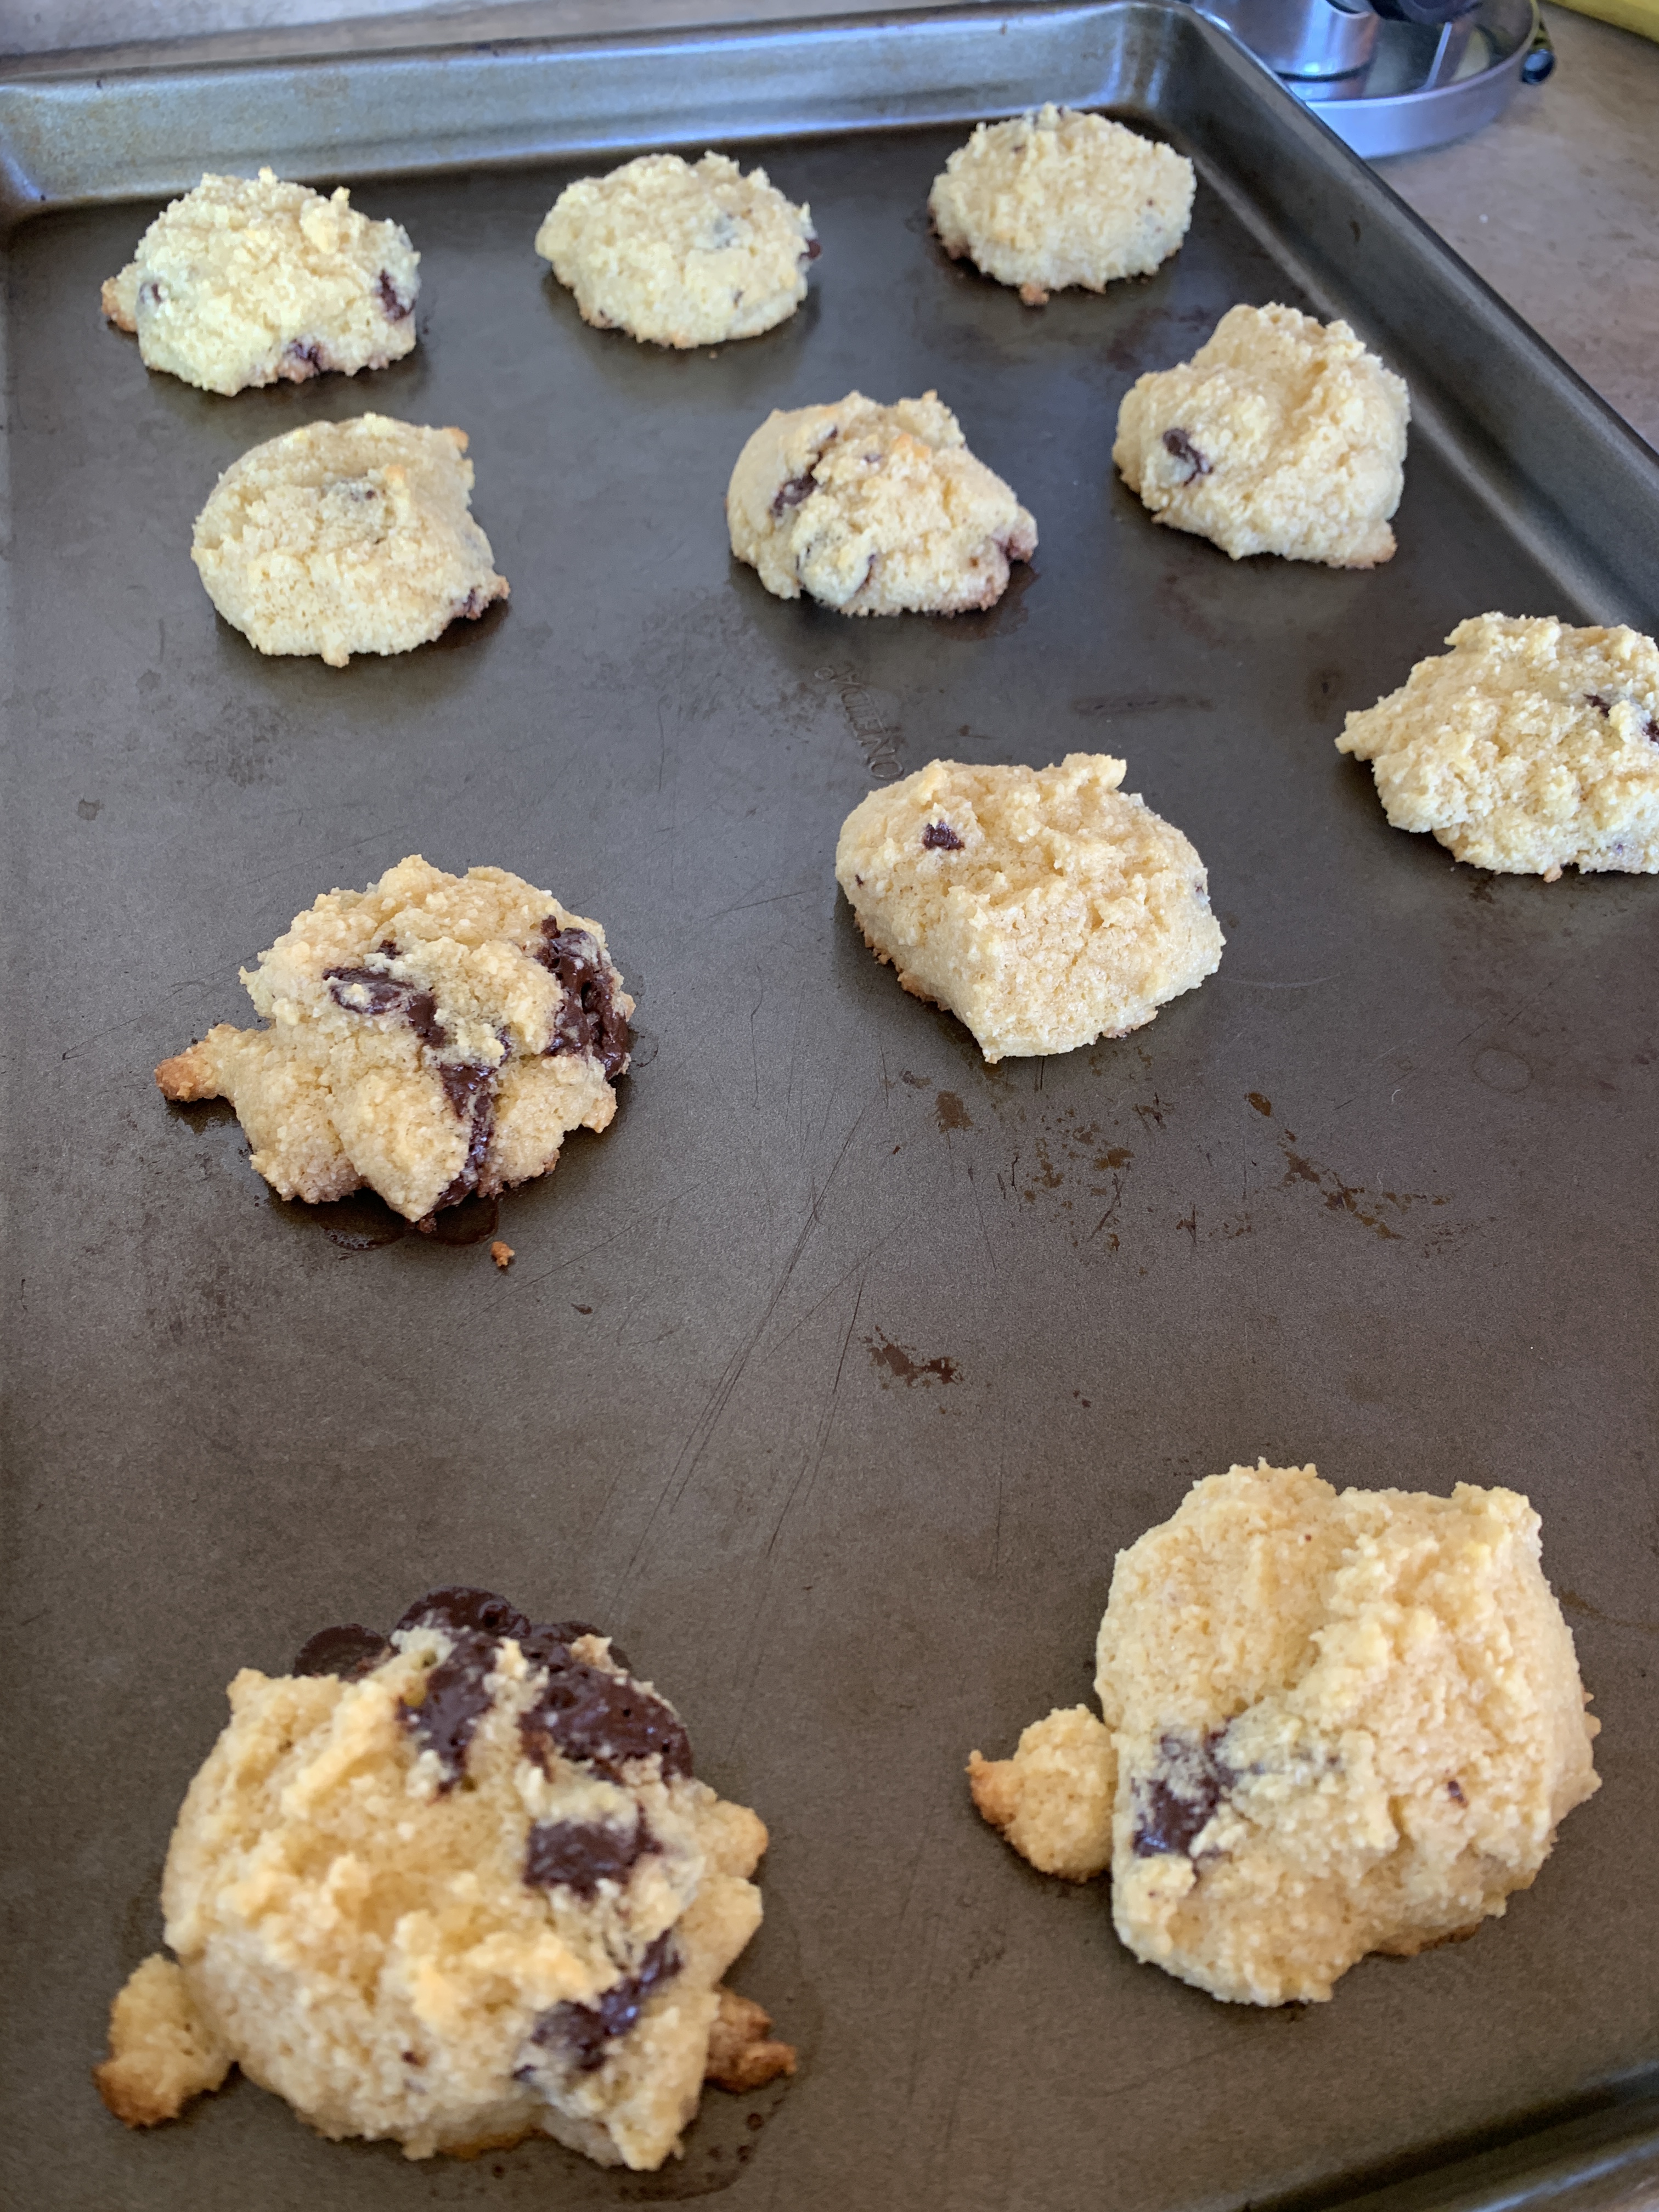
My girl and I wanted some cookies. Well… I was craving some cookies and she is always down to bake ;). I’m always trying to get creative whenever I make any type of desert because the thought of using white sugar makes me cringe BUT I want to make it sweet enough that my kids will like it and eat it. My go to is almost always maple syrup. Maple syrup is full of goodness… it contains several minerals (manganese, iron, potassium, zinc and calcium) and is also an antioxidant! It also adds a caramel, nutty flavor to whatever you add it to. I had to make two batches of these because the first batch crumbled apart as soon as we picked them up :-/. I made some minor tweaks for the second batch and they were super yummy AND didn’t fall apart! Success! My kids loved them and my husband and I loved them as well :). I don’t bake very often (or I should say I don’t bake things I like very often) because any time I have something like these in the house I cannot. stop. eating!! These were no exception…I ate the batter, licked the spoon and ate so many once they were baked! I have no self control! But it is nice knowing they are grain free and free from processed sugar so at least I don’t end up feeling too guilty about it. My typical substitutions for white flour are either coconut flour or almond flour. Almond flour is my preference but coconut flour is pretty great too. Almond flour is high in protein, manganese, vitamin E, monounsaturated fats, low in carbs and contains fiber. You will substitute it part for part for white flour, so if a recipe calls for 1/2 cup white flour you would use 1/2 cup almond flour. I like that it adds a bit of texture to whatever I am baking and I feel like it also fills me up faster. For the chocolate chips I used cacao nibs. Cacao nibs are small pieces of crushed cacao beans — or cocoa beans — that have a bitter, chocolatey flavor. They are a good source of fiber, protein, and healthy fats and are naturally low in sugar. Alternatively you could use dark chocolate chips or milk chocolate chips. If I had had any walnuts those would have gone in for sure too… next time!
two cups almond flour
1/2 stick of real butter
2 eggs
1/3 cup maple syrup (you can use less or more depending on how sweet you want these)
1 teaspoon vanilla
1 teaspoon baking powder
1 teaspoon course sea salt
1/2 cup cacao nibs or chocolate chips
Preheat oven to 350 and grease cookie sheet. In a medium mixing bowl add softened butter, eggs, maple syrup, vanilla and sea salt. Using an electric mixer mix it up well. Add in almond flour and baking powder than mix again. Stir in chocolate chips and mix well. Put in fridge for 1/2 hour to harden up the dough a bit than place rounded spoon fulls of dough on cookie sheet. Bake for 9 minutes. Top with sprinkles of course sea salt.
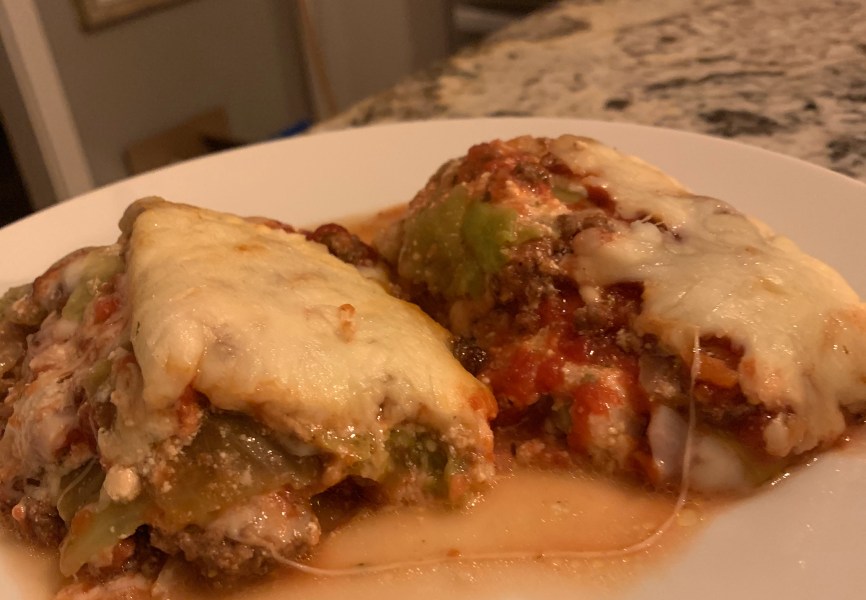
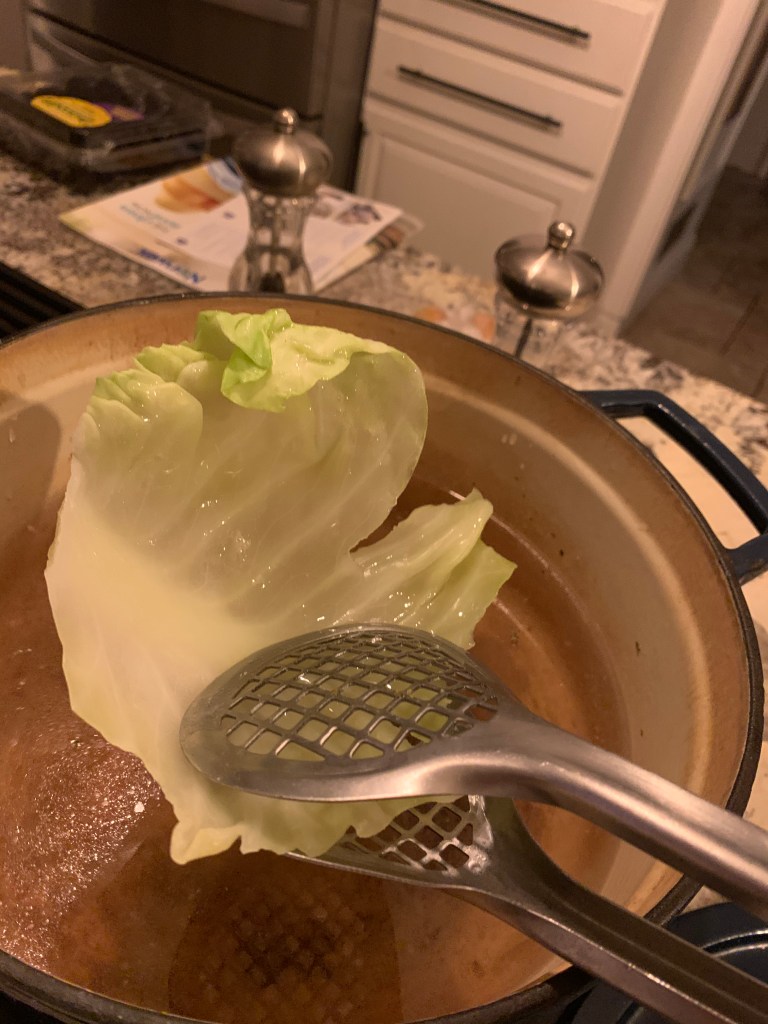
I know I have gone on and on in previous posts about how I try not to eat grains but I can tell you one thing I don’t miss about eating them…. lasagna noodles! No matter what I did in the past I felt like they always turned into a mushy mess. I hate MUSH. If I eat pasta I want it to be slightly under cooked if anything. (Side note: If you do love lasagna with traditional lasagna noodles, there is NO need to boil them first! Just layer them on and they will cook in the sauce… your welcome if you didn’t know this ;)). Aside from the mush I am still a sucker for lasagna. So I have been on the hunt for a good grain free version for awhile. I have tried using zucchini in lieu of the noodles several times but no matter what I did they were always SO watery and messy to deal with. The end result tasted really good but the layers wouldn’t stay in tact because of all the excess water so it was just a big messy pile when I served it up. I never tried eggplant because I’m not a fan but the other day I tried the winner… cabbage! I’m a huge fan of cabbage and usually just eat it roasted with olive oil and sea salt. I was really surprised how well this worked out and at first my husband didn’t even notice there weren’t noodles in it. I blanche the cabbage first trying to go for whole leaves but I think it would work fine if you tore off smaller pieces (because its easier) and cooked with those instead. For the sauce, I use my usual recipe that can be found here. If you try this out let me know what you think!!
Cabbage Lasagna
1 head green cabbage
2- 3 cups pasta sauce
1 lb ground beef
1 clove garlic
16 oz ricotta cheese
4 cups mozzarella
2 eggs
Tablespoon oregano
1/3 cup grated parmesan
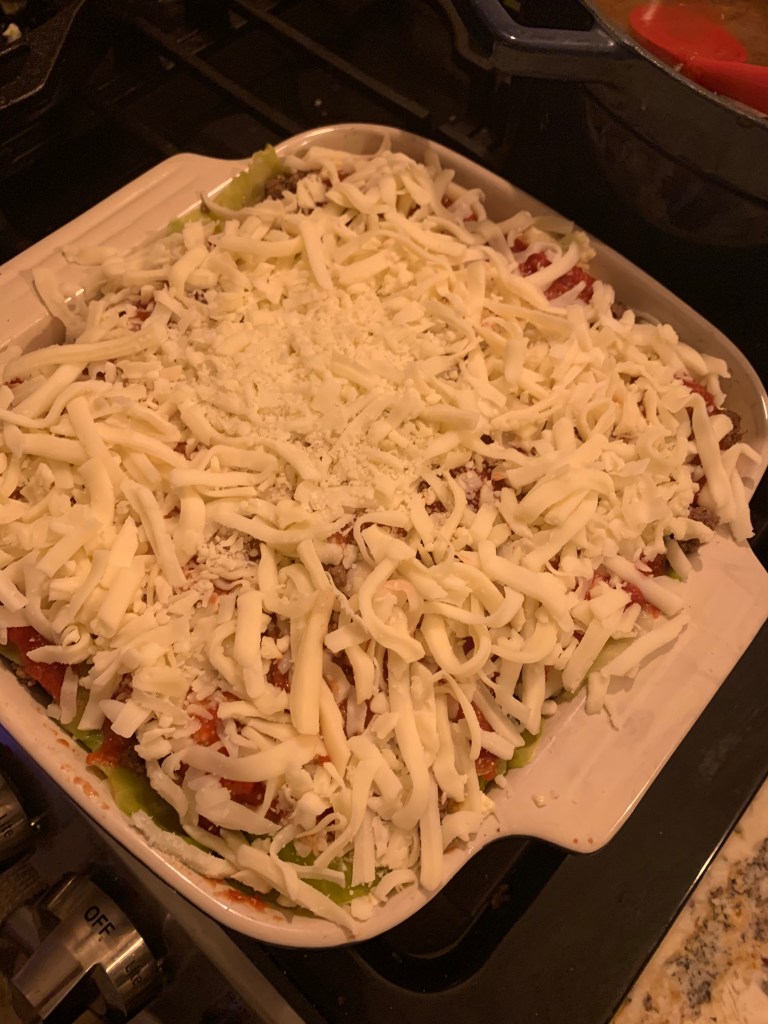
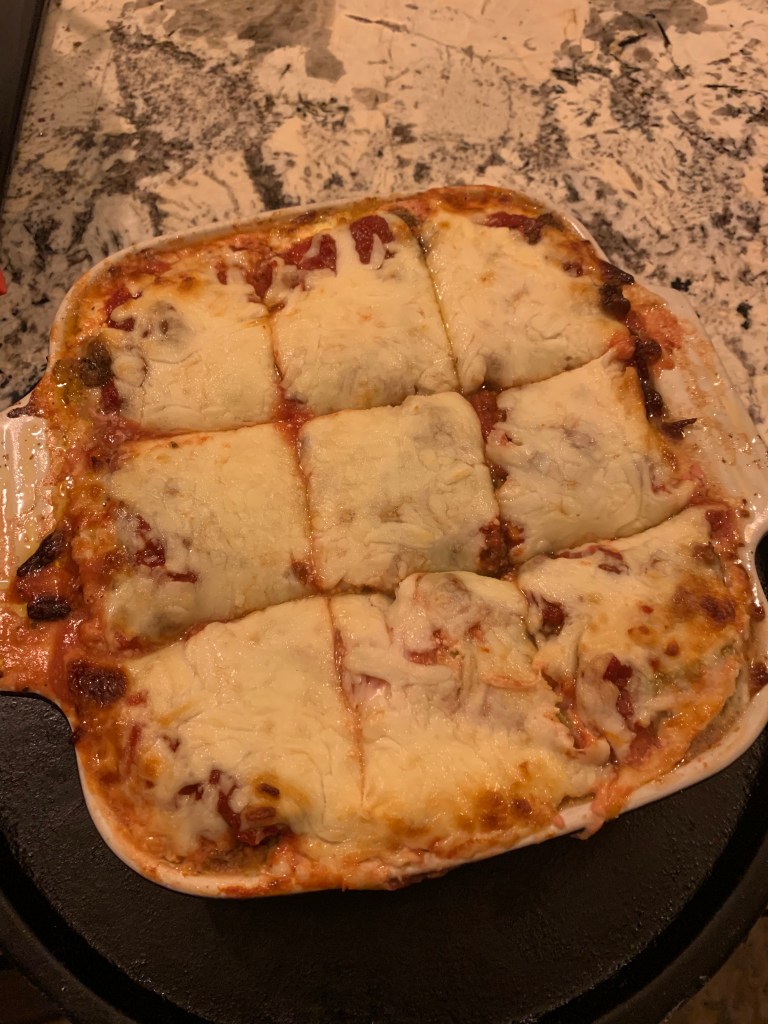
Begin by boiling some water in a large pot. Try to remove 10 or so full layers from the cabbage and boil for 8 mintues (I only boil three leaves at a time so this will take a few batches) until translucent and tender. If it is too hard to get the layers peeled away nicely you can also cut it into quarters and boil a batch at a time. Drain and set aside on a plate lined with paper towels so they can cool and dry a bit. Next cook up ground beef and drain any fat if needed. In a large mixing bowl mix ricotta, 1 cup of mozzarella, eggs, oregano, grated parmesan and set aside. Now arrange a layer of cabbage into a baking dish. I use a 9×9 for this. Spoon/spread 1/3 the cheese mixture over the cabbage leaves than 1/3 of the meat mixture followed by a layer of sauce and sprinkle with mozzarella cheese. Top this with another layer of cabbage and repeat the next steps. Topping it all off with one more layer of cabbage, the rest of the cheese mix, meat mix, sauce and cheese. Before I bake this I place the baking dish on top of a larger baking sheet to capture any liquid that might run into your oven! Bake for 35-40 minutes at 375. If cheese isn’t brown enough throw the broiler on for a few minutes at the end.
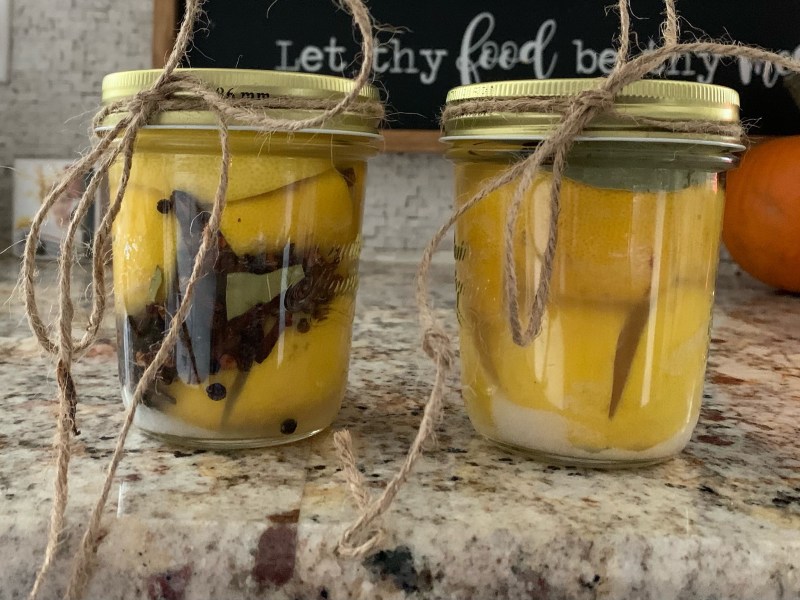
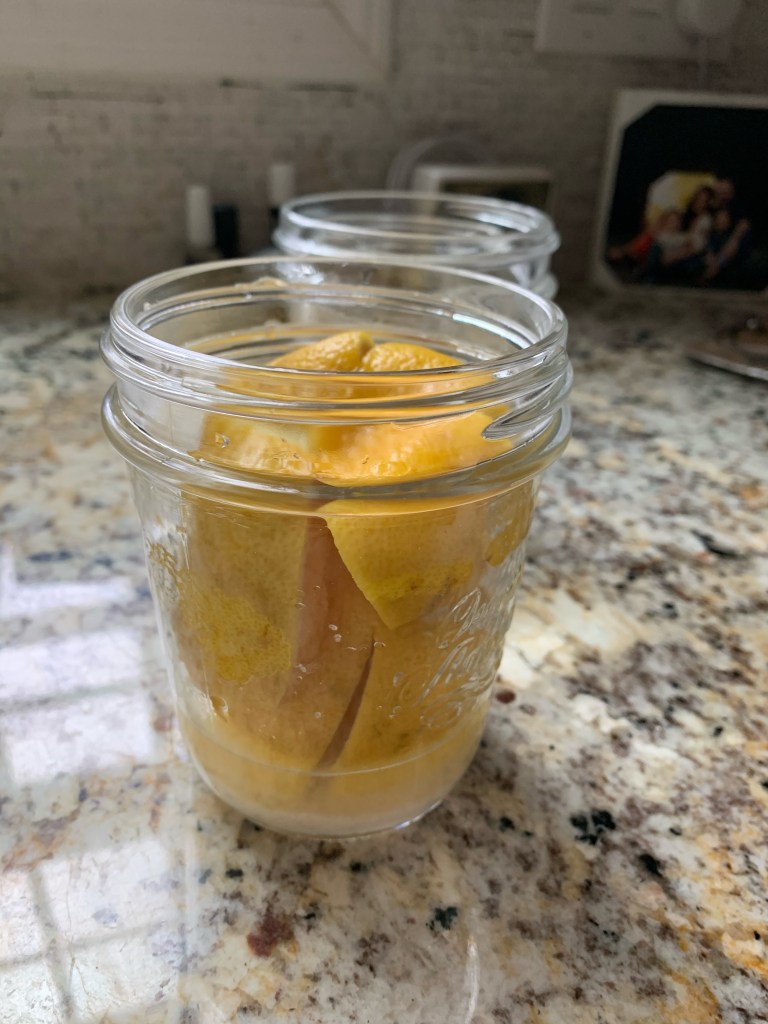
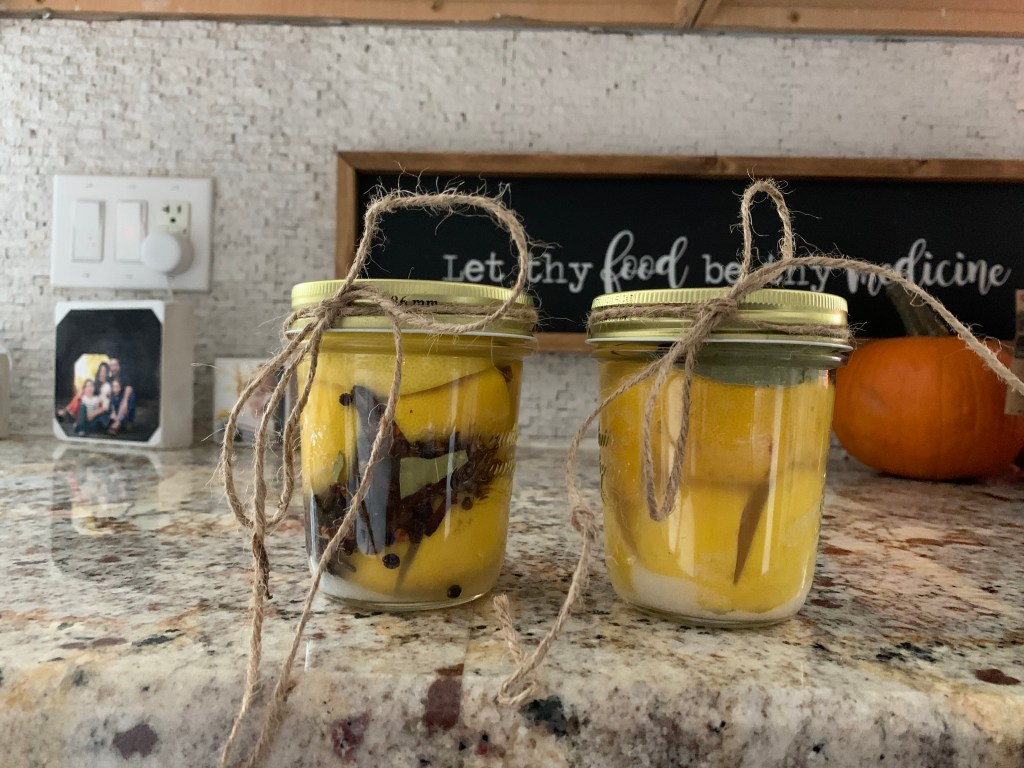
Raise your hand if you need a super cool, thoughtful, unique, homemade, Christmas gift! I did these as gifts a few year ago and they are just so visually stunning. If you take my advice and make for someone I highly recommend you give them some recipe ideas to go with it because the people I gave them too had no idea how to use them, ha! I will link a few below but they pair really well with fish or chicken or maybe even in a homemade salsa. They give any recipe a strong Mediterranean vibe or Moroccan feel maybe. Chicken Tagine anyone!?! You don’t eat the flesh, just the rind so I think the idea feels foreign to most people. Picture a pickled lemon rind if you will. They pair so well with capers, olives, garlic, cinnamon…I can go on and on but I won’t. The flavor is pretty intense so a little goes a long way and to describe the flavor in one word I would say explosive! Maybe even transcendental ;). Just writing about this is making me excited for my next batch to be ready! These take about a month to be ‘ready’ so make them now so they are ready for someone special at Christmas :). I used to follow this blog called Local Milk and she posted about these years ago. I don’t know about any of you but even if I know a recipe by heart I still like to look at it while I am making it just to make sure I don’t miss anything essential. I searched google for her recipe and it was NOT THERE! So not cool! So I’m posting this mainly for memory and also so I can check my OWN blog from here on out when I need a refresher on the recipe ;). For this you will need some good canning jars…something like these. My favorite place to get these jars is TJ max or Homegoods or even Target. Buy a jar that looks pretty so it looks good as a gift! Also find some fun twine or ribbon and gift tags :). I’m not a big fan of the twine I used below but it was all I had around the house so you get the idea ;). Also, you can use a smaller jar like I did or a bigger mason jar and just stuff with more than I did. TRY THIS recipe!!! You won’t be sorry :).
Ingredients for one small jar:
2-3 lemons
coarse sea salt
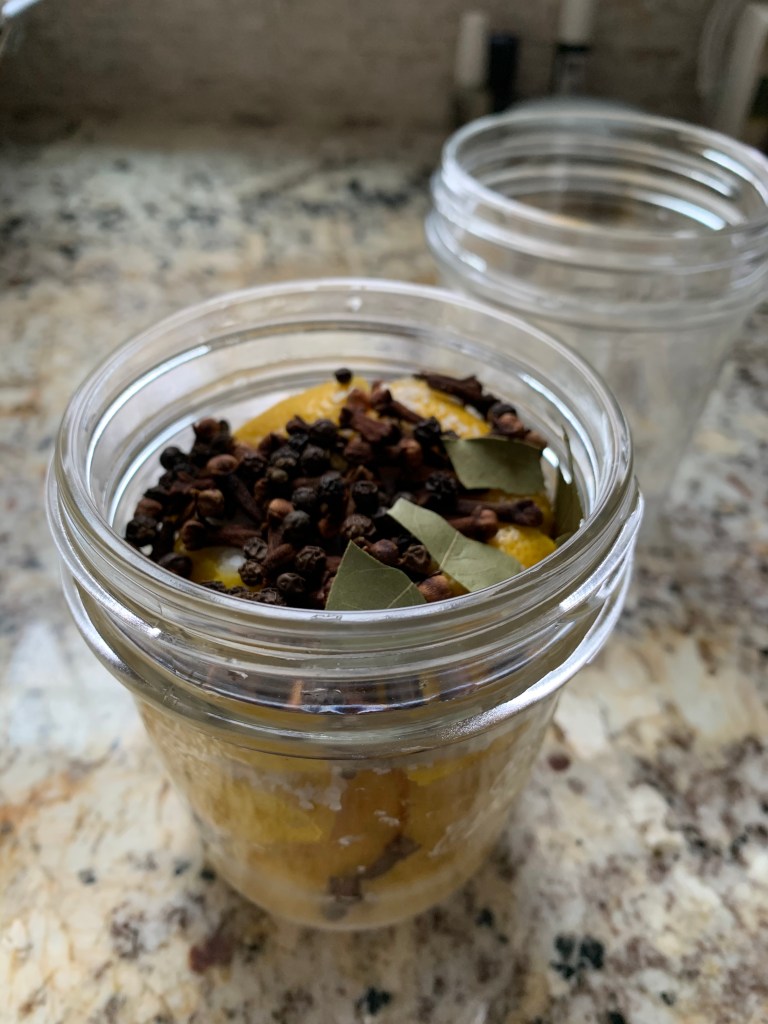
cinnamon sticks
black or pink peppercorns
whole cloves
bay leaf
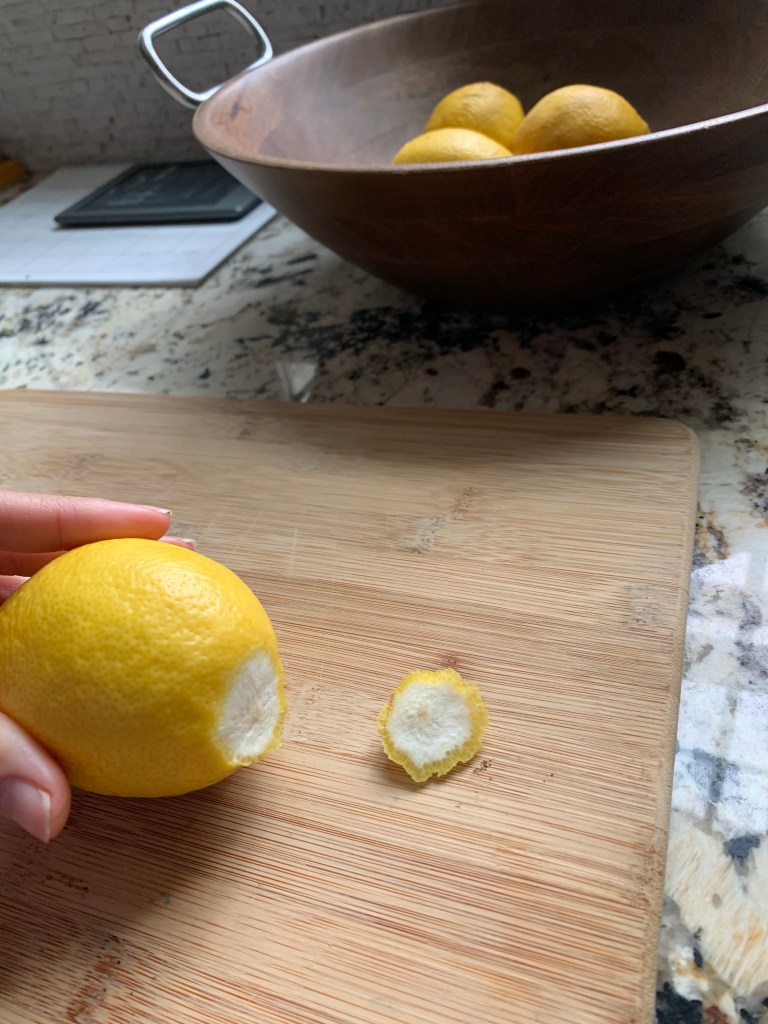
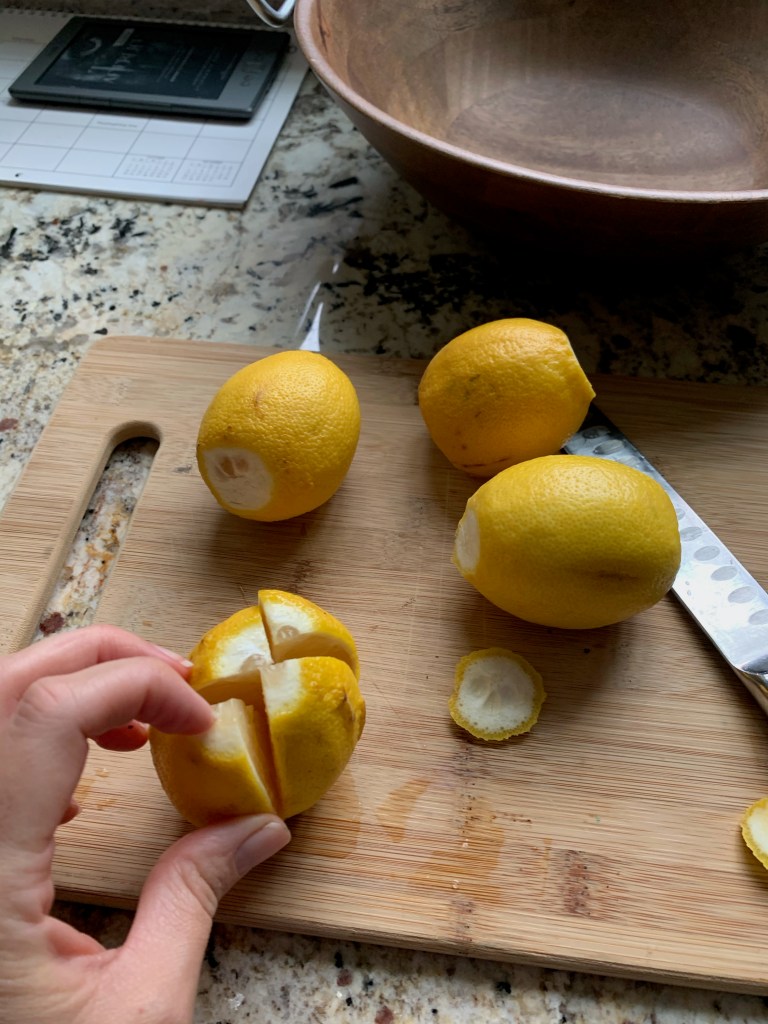
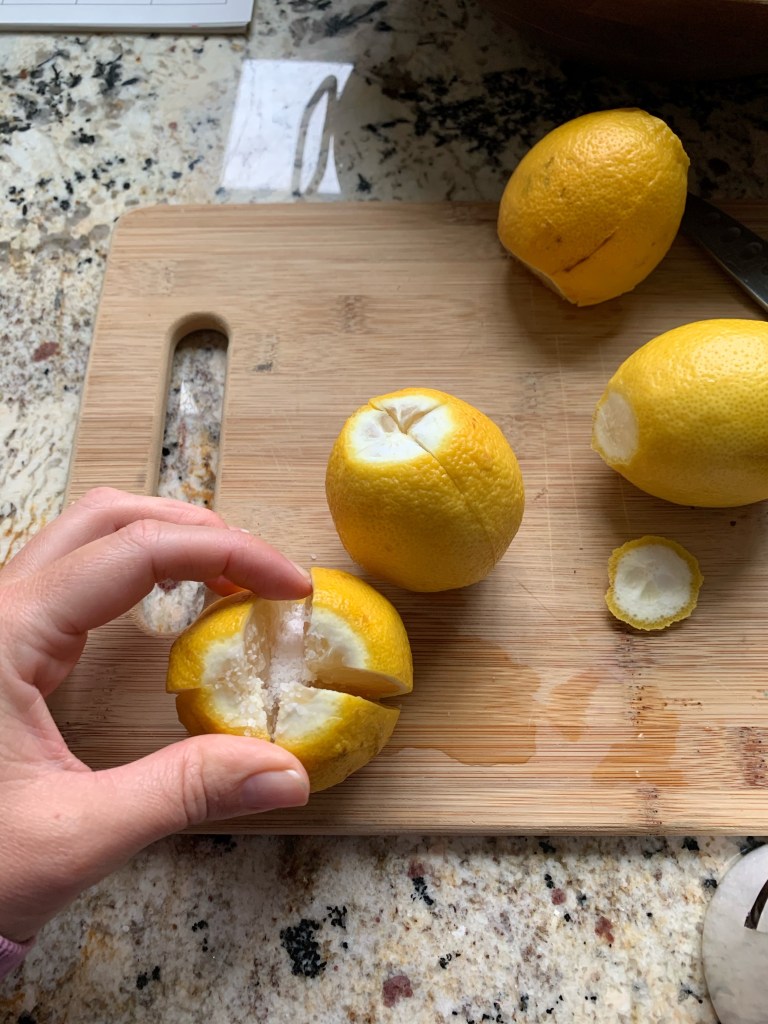
Method: Using a cutting board carefully cut away the bottoms of your lemons called the pith. You don’t want to cut all the way to the flesh just the white nubby part off of both ends. Next standing the lemon upright you will cut into quarters, BUT, you will not cut all the way through, just down far enough so it opens up like a flower but is still an intact lemon. Fill the inside of the lemon with coarse sea salt and smash it down into your clean jar smashing all of the juice out. Cover the lemon in the jar with maybe two tablespoons of course sea salt. Repeat this step for the next lemon and mash it on top of the other lemon into the jar. The idea is to fully cover the lemons in their own juice and the sea salt until it is almost to the top of the jar. If you need more lemons cut up another and repeat the step. I used 2 1/2 lemons for my jars but probably could have used 3. Now add in peppercorns, bay leaf, cinnamon stick, whole cloves and cover again with coarse sea salt. Make sure entire contents is covered in FRESH lemon juice before putting the lid on. Now you will just put into a dark corner of your kitchen and wait! In approximately 30 days they will be ready for use! To use you will pull the lemons out and peel away the flesh and dice them up. Return to the brine in the jar and store in the fridge and eat them by themselves or add them to any dish that sounds good! Here are a few recipes I would use them in: